A Little Processing.
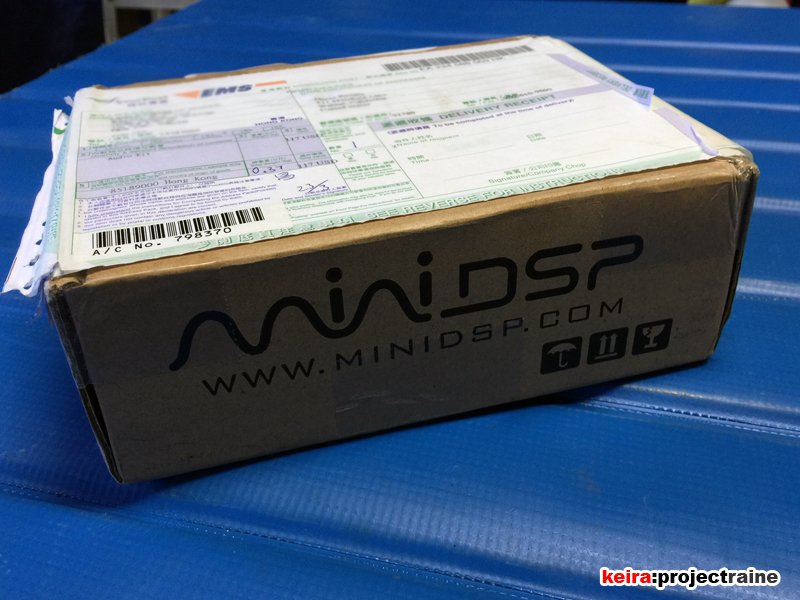
This upgrade I blame on my two brothers, who are home audio freaks. They were talking about the miniDSP 2×4, a tiny DSP processor that uses a USB cable for PC/Mac interface and plug-in software for real-time programming. After researching more I discovered that they also have a miniDC power supply which coincidentally features an isolated DC-to-DC output and a timed turn-on circuit (more on this later). With the miniDSP components I could go full active on my front speakers and use all four main channels of my Alpine PDX-V9 amp (1 channel for each of the four front speakers). I ordered one of each directly from the manufacturer and they arrived in a few days.

First up was the miniDC power supply. This thing is pretty cool – first it takes an unfiltered 10-18v power source and isolates/filters it so that in can output a clean, pure 12v power supply to the miniDSP processor. On top of that, it has a time-delayed remote turn-on circuit that turns on components in a specific order for no turn-on “pops” and correct audio signal flow.
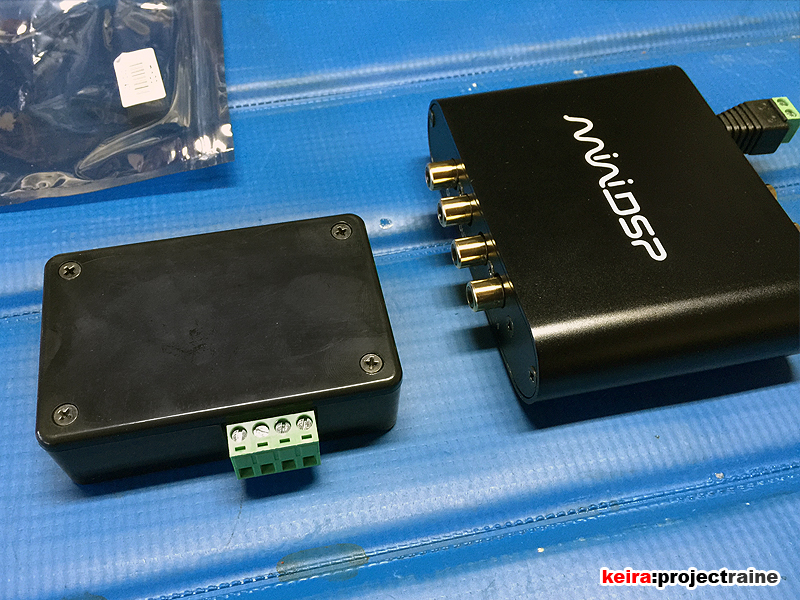
In other words, when I turn the key to “ACC” or “ON”, the miniDC first powers up the miniDSP and gives it 3 seconds to “settle”, then turns on the Audio Control Epicenter and Alpine amp; both remote turn-on leads are attached to the time delay output. When I turn the key to “OFF” the miniDC turns the amplifier and Epicenter off first, followed by the miniDSP processor. This gives my system a clean, quiet device turn on/off where all devices are ready to go in the correct order. Features aside, it comes as a plain circuit board with no enclosure for DIY. I ordered a small ABS project box from Amazon and went to work.


I mounted the MiniDC enclosure underneath the center console, next to the shifter. I was worried about transmission tunnel temps, so I did a temperature check after driving about 30 minutes and the area wasn’t too hot at all.
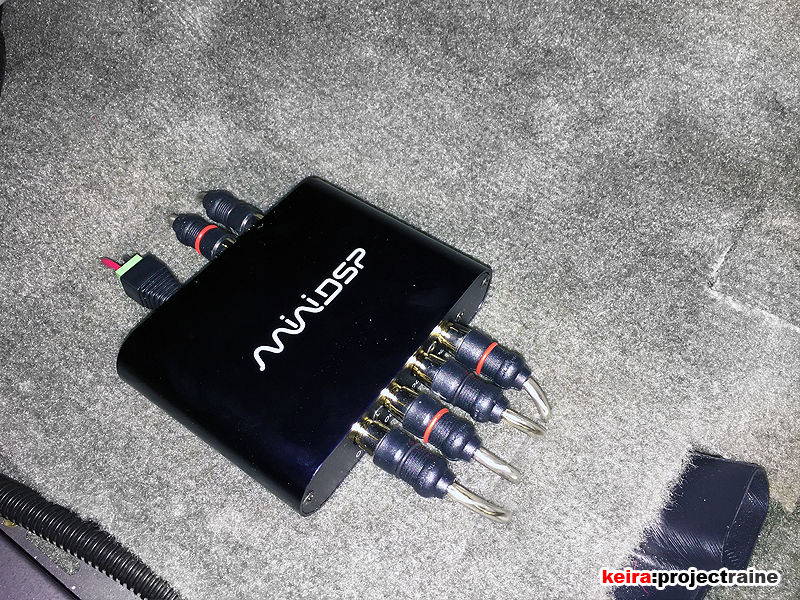
With the MiniDC installed, now I needed to install the actual MiniDSP processor. Since it was going to eliminate the need for the Image Dynamics passive crossovers, I basically pulled the crossovers out to install the MiniDSP in the same spot. Unfortunately for me, going from passive to active processing meant I had to once again pull the front seats and carpet to reroute the RCAs and speaker wires to work with the new active configuration! Luckily I had enough slack in the cables to just move them around without having to replace/extend anything. With that done and the carpet back in, I could finally install the MiniDSP. The MiniDSP was so small and light that I just used Velcro to attach it to the floor carpet.


With this setup I now had the Kenwood front low-level outputs (2) connected to the MiniDSP inputs (2). From here, the MiniDSP outputs (4) were connected to the Alpine’s 4 main channels. Finally, the Alpine’s 4 channels went to each individual speaker up front – 135-watts each for the dash-mounted tweeters, and 135-watts each for the door-mounted mid-range speakers. As for the rear speakers, I kept the OEMs in place powered by the Kenwood head unit’s amplifier, attenuated very low for just ambiance, as the main stage would be coming from the Image Dynamics speakers.
All wiring completed, I connected my Macbook Air to the MiniDSP via USB cable and set the crossover points to match what I had set in the passive crossovers for a direct comparison, but to be honest – there was no comparison. By feeding each speaker directly from the amplifier (with no passive crossover in between) the sound felt even more alive! I had to adjust the outputs of the tweeters a little since they were slightly too bright, but mid-bass picked up. (Note: This was before I did any fine tuning with the Kenwood and MiniDSP adjustments). My brothers also told me that the sound will get even better after the speakers “break-in” – which is more good news considering as-is they already sound pretty damn good to me!
UPDATE 09.30.16: MiniDSP replaced with a JL Audio TWK-88 Signal Processor.