Aligning Wires.
I had to send my TWK-88 DSP to JL Audio for some service, and since I had to pull the passenger seat to get to it, I decided to start an audio “refresh” project I had in mind for awhile now. Since I knew I’d have some waiting time for my DSP to come back, I could take my time with everything I had planned to do. For this first day I did the following:
- Pull TWK-88 DSP for service
- Remove the Kenwood KAC-M3004 amp
- Pull out the amplifier and DSP platforms
- Refresh and organize some A/V cables
- Temporarily bypass the DSP so I have some driving music
Obviously, the first thing I did was pull the interior:
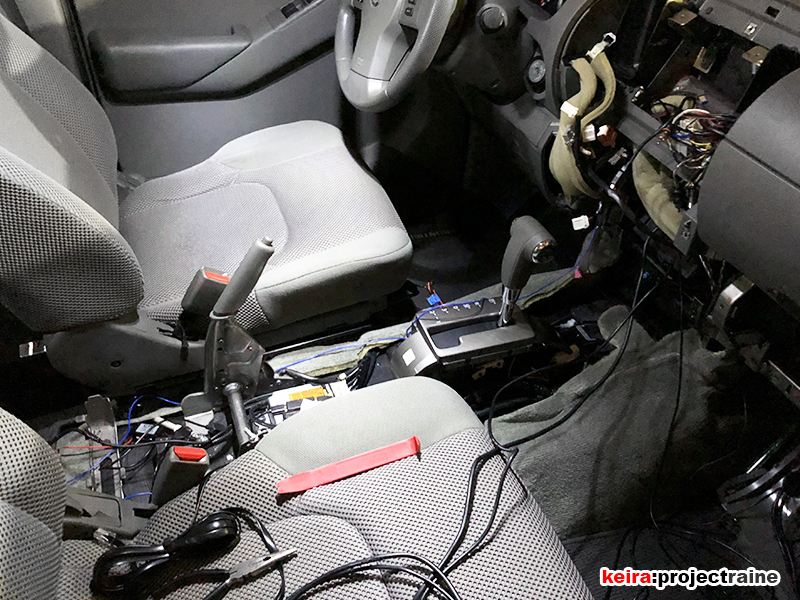
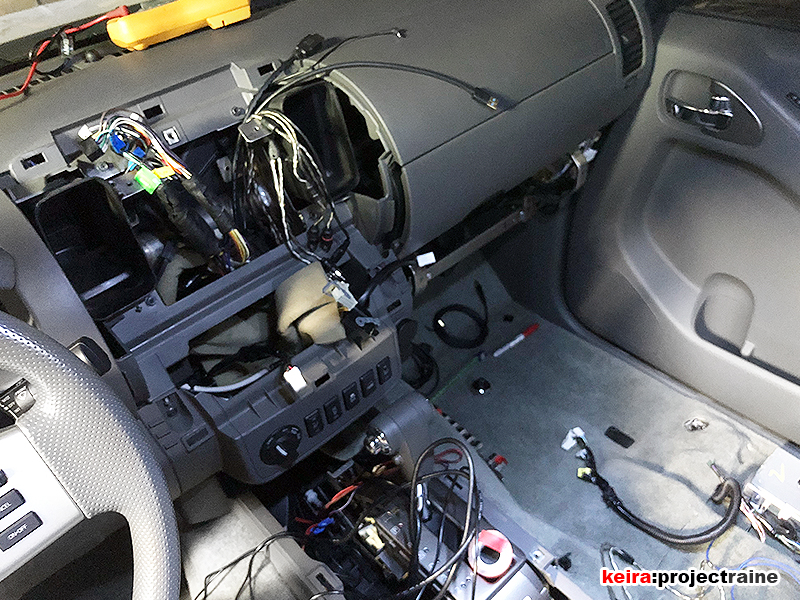 <
<
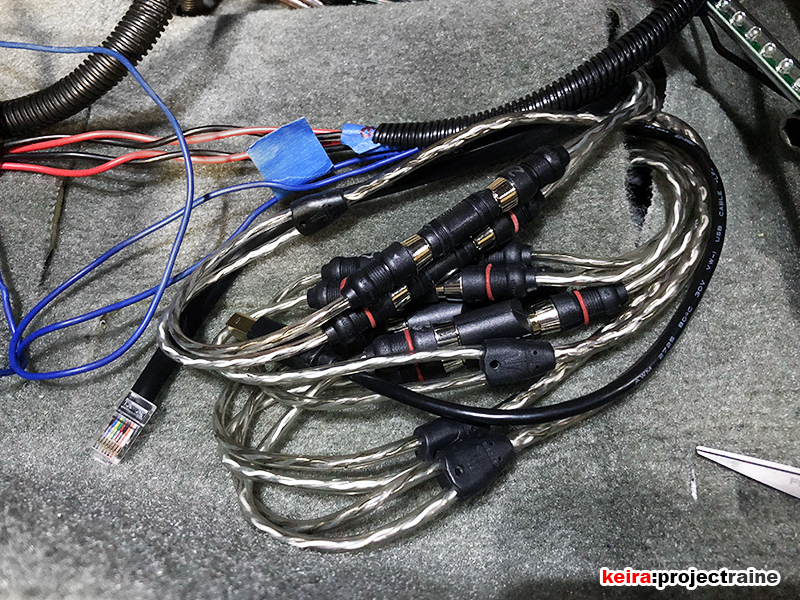
After removing the right-side processor/rear amp platform, I temporarily bypassed the DSP by using some RCA connectors.
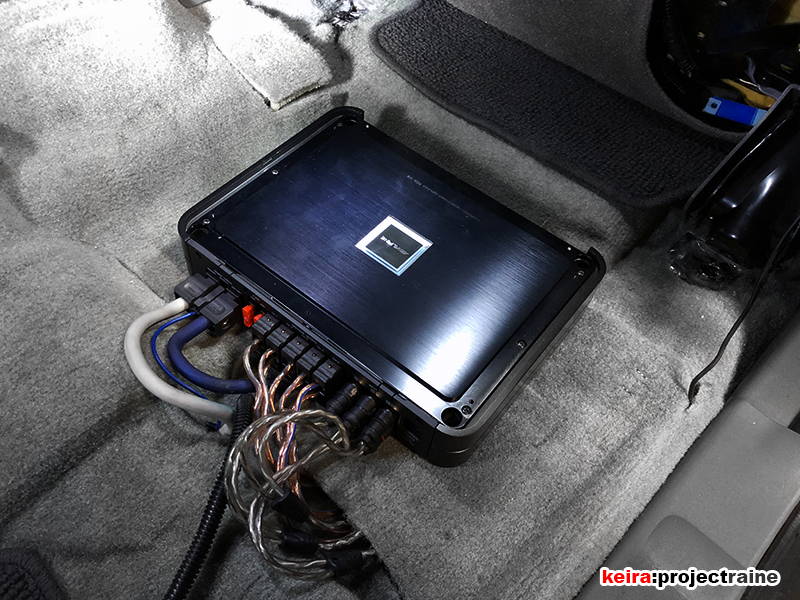
Next the driver’s side, I removed the Alpine PDX-V9 amp, pulled the amplifier platform, then temporarily reconnected the amp – I did this and the DSP bypass so I could still have some music for my commute.
Before I even started I did what I usually do – I printed out diagrams of the wiring changes I had planned to keep from forgetting something:
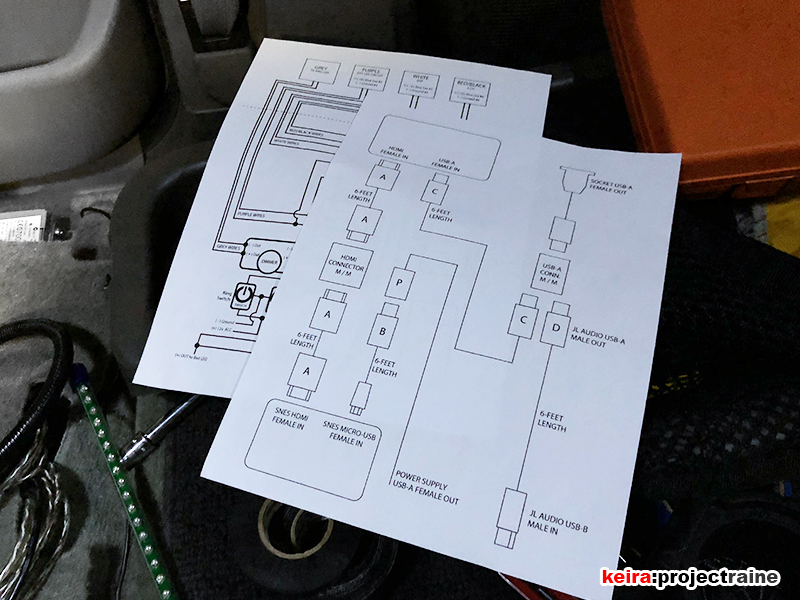
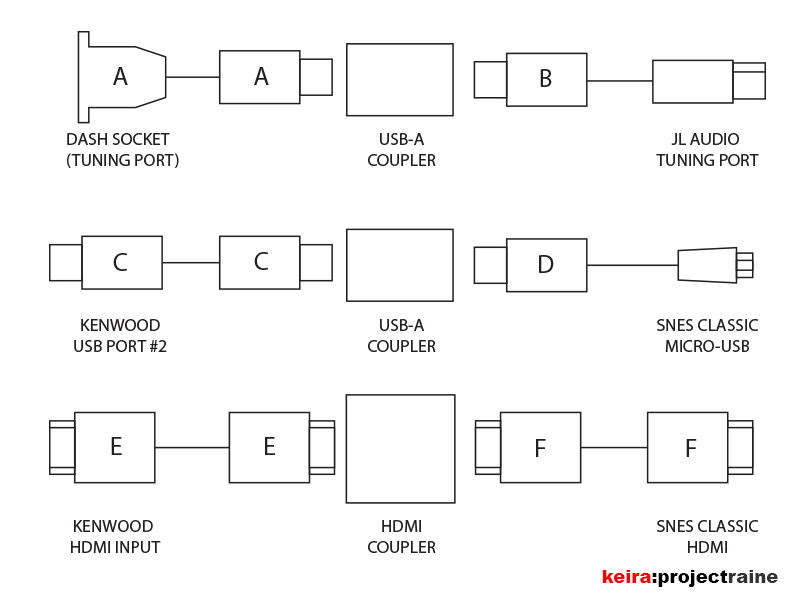
To explain the above:
- Cables “A” and “B”: Cable A is a USB cable that comes from the single USB port on the center console. Cable B is a USB-to-USB Type-B cable that connects to my JL Audio TWK-88 DSP. This lets me plug my laptop into the center console USB port when I want to configure and tune the DSP, without having to try to plug directly into the DSP which is normally hard to get to under the passenger seat.
- Cables “C” and “D”: Cable C is a USB cable connected to the second USB port on the back of my Kenwood DNX-892 head unit. Cable D is a USB-to-Micro USB cable connected to the SNES Classic. The SNES Classic is getting power directly from my head unit, and it turns on/off automatically with the head unit.
- Cables “E” and “F”: Cable E is an HDMI cable connected to the HDMI input on the back of my Kenwood DNX-892 head unit. Cable F is another HDMI cable connected. To the SNES Classic. This sends the video signal to the DNX-892.
The whole point of using the couplers (instead of running a single longer cable) was to bring the ports from the back of my head unit to somewhere more accessible, so that I wouldn’t have to remove the center dash every time I wanted to change something. As a solution I decided to position the couplers in a place that isn’t seen normally, yet I can get to it in seconds with no tools – and that place was right under the cup holders:
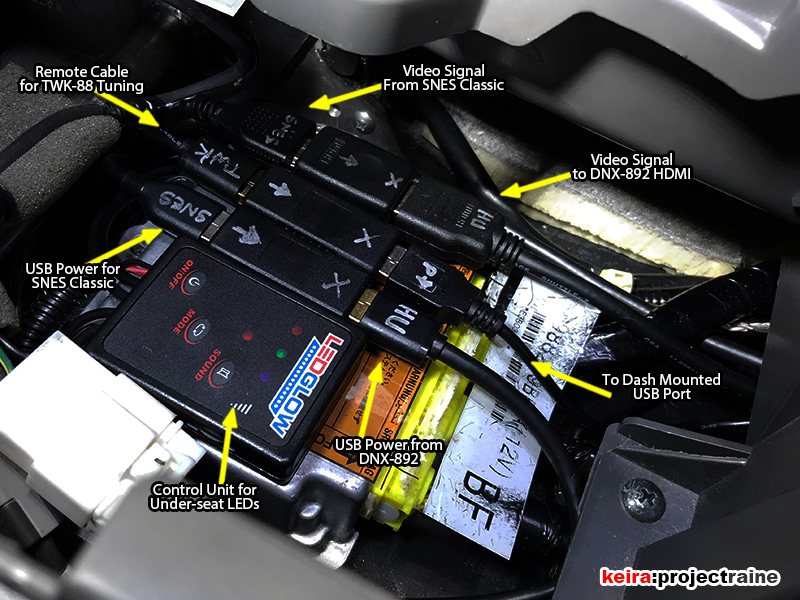
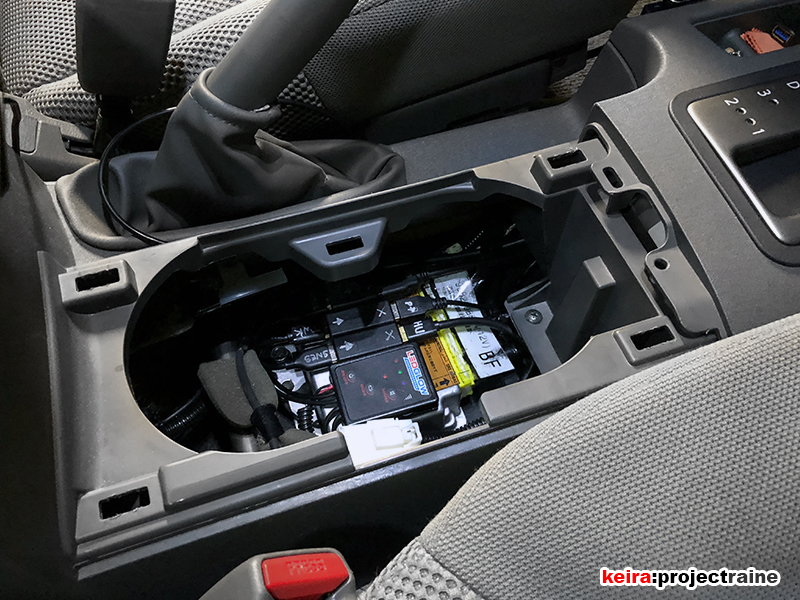
So after getting the A/V cables sorted out, I reinstalled my interior since it’s my daily driver and I have to drive it to the office.