The Titan.
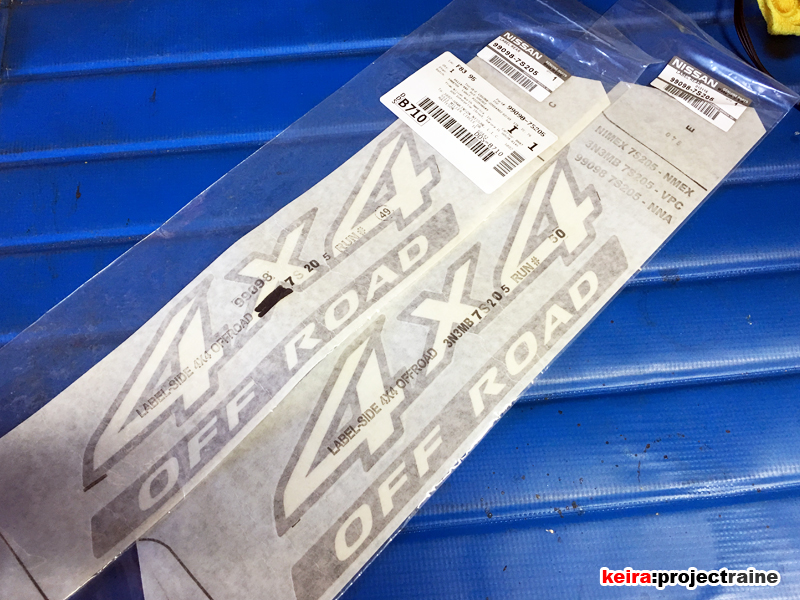
Today was sticker day. I ordered a pair of OEM Genuine Nissan Titan “4×4 Off-Road” bedside decals online and they arrived in the mail the other day, so I decided to install them earlier this afternoon.
To install the decals I used my tried and true method I’ve perfected over the years of doing decal work. For this job I used the following:
- Spray Bottle with Soapy Water (1 drop of dishwashing soap per 32-oz. of water)
- Quick Detailer and Claybar
- Masking Tape (blue stuff)
- Small Rubber Squeegee
- A couple of Microfiber Towels
- Measuring Tape
- Variable Heat Gun
First thing I did was spray a generous amount of soapy water to get any loose dust and dirt off the paint surface:

…followed by a quick claybar job to ensure that the paint was clean and bare (also using generous mounts of quick detailer):

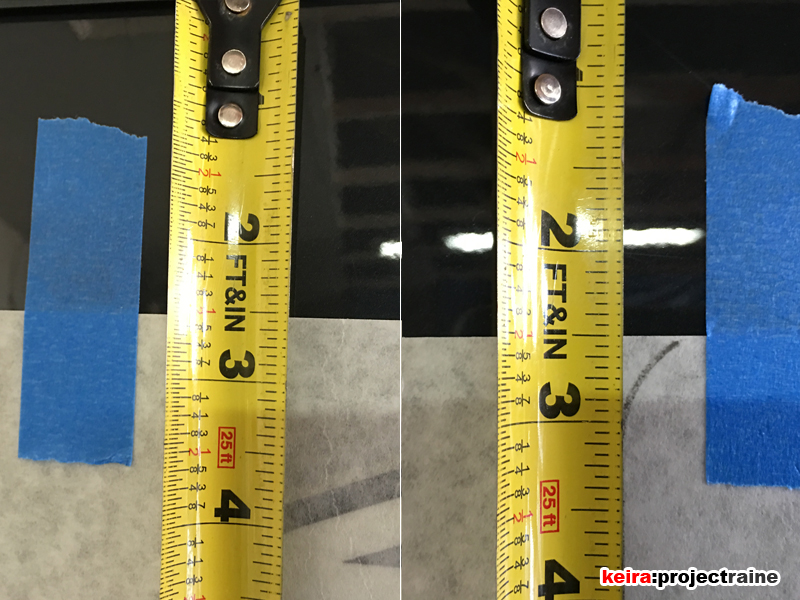
With the clean surface, I used masking tape to temporarily position the decal as close as possible to where it’s supposed to be. The OEM decal has a guideline printed on the top cover, which made it easy to line up with the tail lamp; the straight line worked out, but the curve at the top was for a Titan tail lamp, not a Frontier tail lamp. No problem – To get the decal squared up to the body I made sure the gap between the bedrail and decal matched at both ends of the decal:

Placing the decal into position as close as possible.
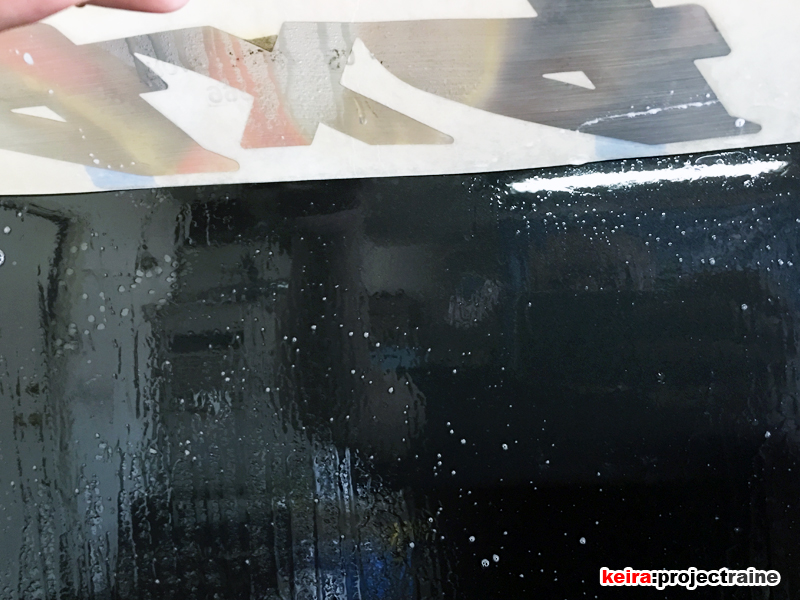
With the decal positioned correctly, I removed the lower masking tape pieces to spray more soapy water onto the paint surface. I then removed the decal backing. Using soapy water here allows me to move the decal around if necessary, and it makes getting all the air bubbles out from underneath a lot easier. With the aid of a small rubber squeegee I carefully pressed the decal down to the paint surface, using the squeegee in a downward motion to get all of the soapy water out from underneath without leaving any air bubbles.


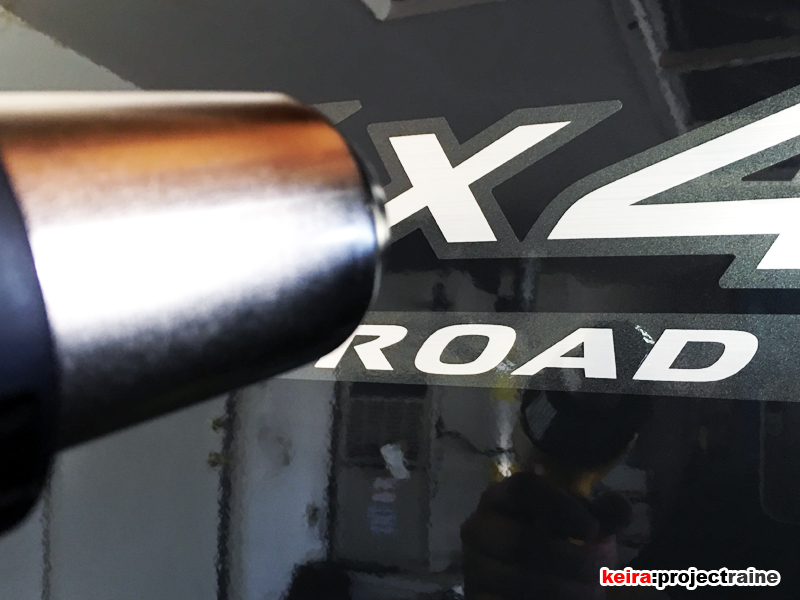
Most people stop here and call it a day, but I like to finish the job by applying a little heat to the decal to help evaporate any liquid left under the decal and to get the adhesive to stick a lot better to the paint surface. If you do this, use the low setting and don’t leave the heat gun pointed at one spot for longer than a couple of seconds, or you may damage your paint.

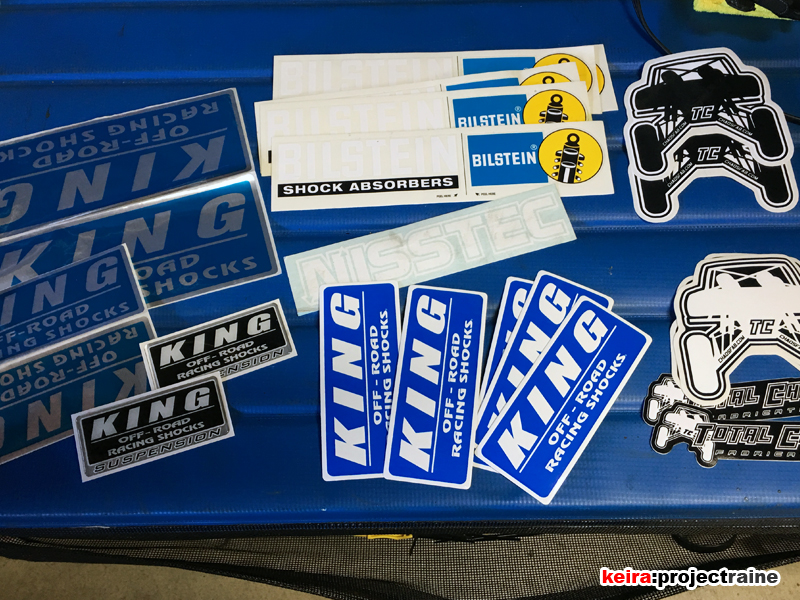
Since I was doing decals, I took a look at what other decals I had: