Push Button Night Lights
Ever since I installed my Utili-Track LED strips in the truck bed, there were only two ways to turn them on: have one of the truck doors open (since the LEDs were originally wired to the cargo lamp) or with a small switch in the center console (but the truck had to be running). I’ve seen some people fashion some way to turn on their bed lights from the back of the truck bed using all kinds of ideas such as magnetic reed switches, pin switches, etc. and I wanted a way to be able to do the same… but I never got around to doing the mod. Years later, a few days ago a forum member mentioned a small device and that (combined with being stuck at home for the past 4 months due to the global pandemic) made me decide “why not” and I began to think of how I would add remote switches for my Utili-Track LED strips.
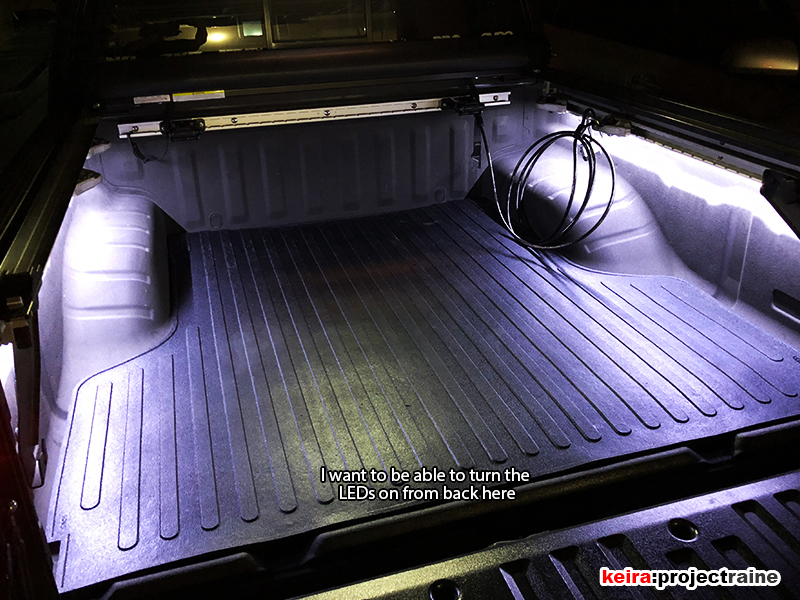
I had some specific requirements:
- The switch must be a simple, reliable metal push button. Waterproof since it’s being mounted external.
- The push button would need to be a visible yet flush design so it won’t accidentally get bumped and turn on.
- The push button would also need to be a momentary-type switch (push on, let go to go off) so it won’t stay on forever.
- The function would need to be an “always on” type feature without requiring the key in the cylinder or a door open.
- The push buttons would have to be installed discretely inside the bed area somewhere.
- I would need a simple, compact circuit with an adjustable timer so I can specify exactly how long the LED strips would stay on.
With regards to #6, one of the original ideas was to use the same DEI 611T Latching Module that I used when I installed the Xterra light switch years ago. However this module was becoming harder and harder to find, and likewise the price was getting higher and higher if I did find one (anywhere from $15-30). Also, the 611T was a big chunk of plastic, measuring in at around 5″x3″x0.75″. Enter thePAC Audio TR7 “Universal Trigger Output Module” that I picked up for $10 brand new on eBay, shown here next to the OEM Nissan keyless entry fob (for size comparison):
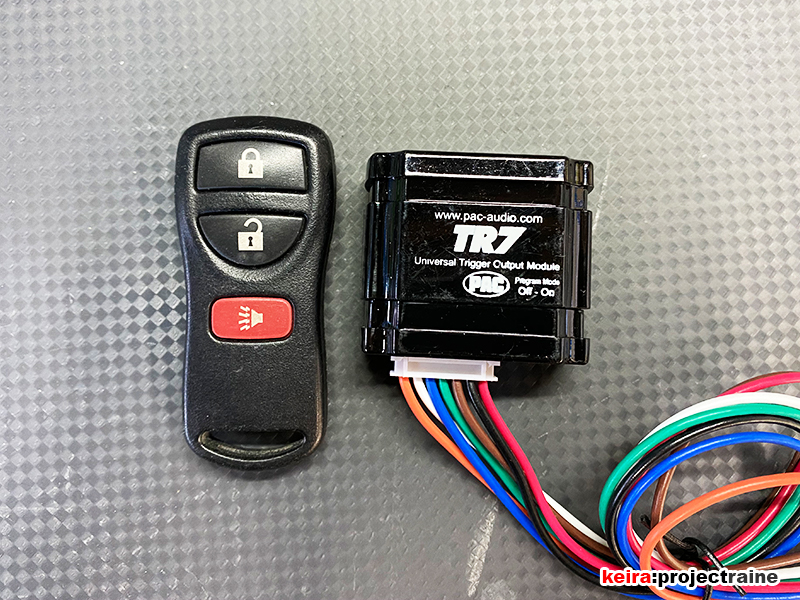
The TR7 is less than 2″ x 2″ x 0.5″ in size, and uses internal voltage IC programming to select its features (instead of exposed DIP switches and a manual dial like the DEI 611T). After researching the features of the TR7, I saw that it had exactly what I needed, so the mod was a go. It took a couple days for the TR7 to arrive in the mail (woohoo for local sellers) and when it arrives I immediately hooked it up to my 12v bench power supply and got to setting it up for the function I needed:
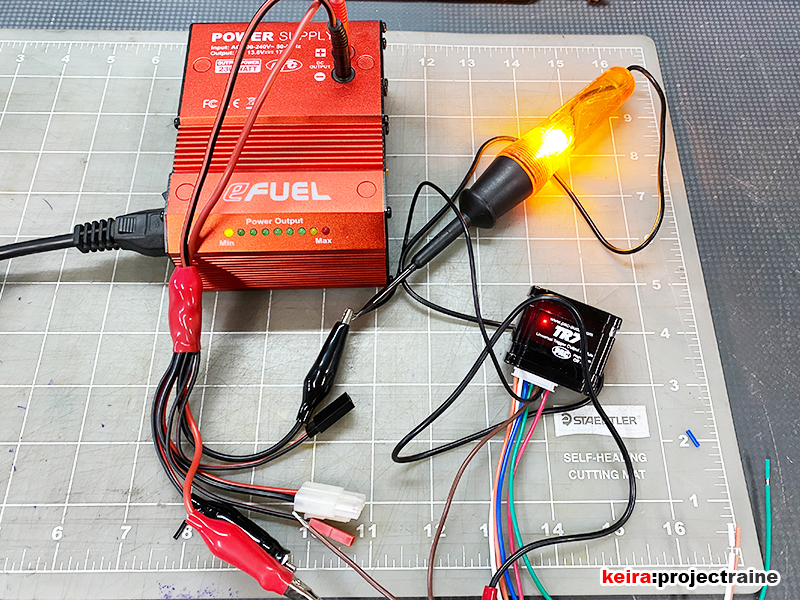
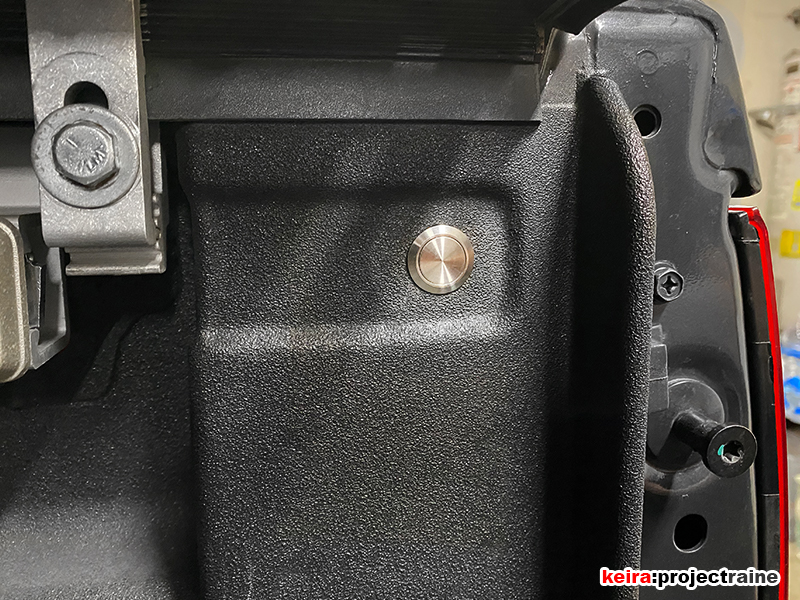
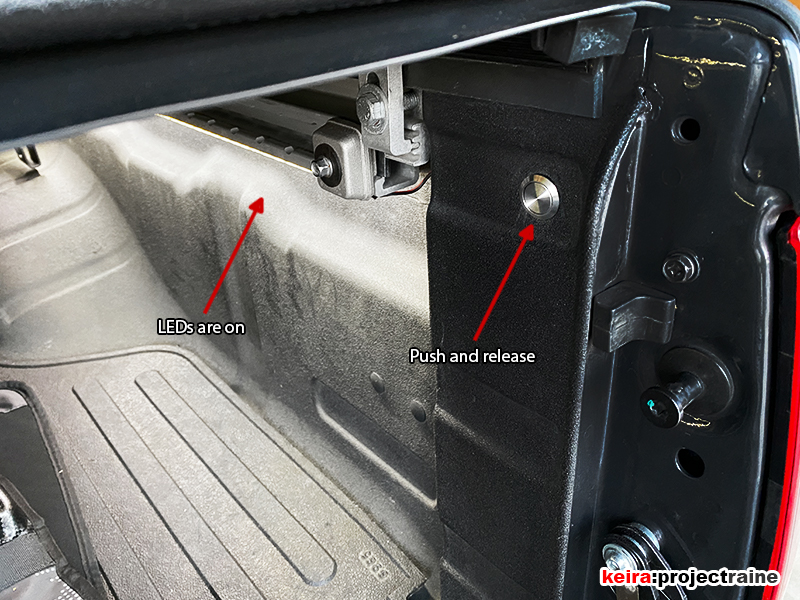
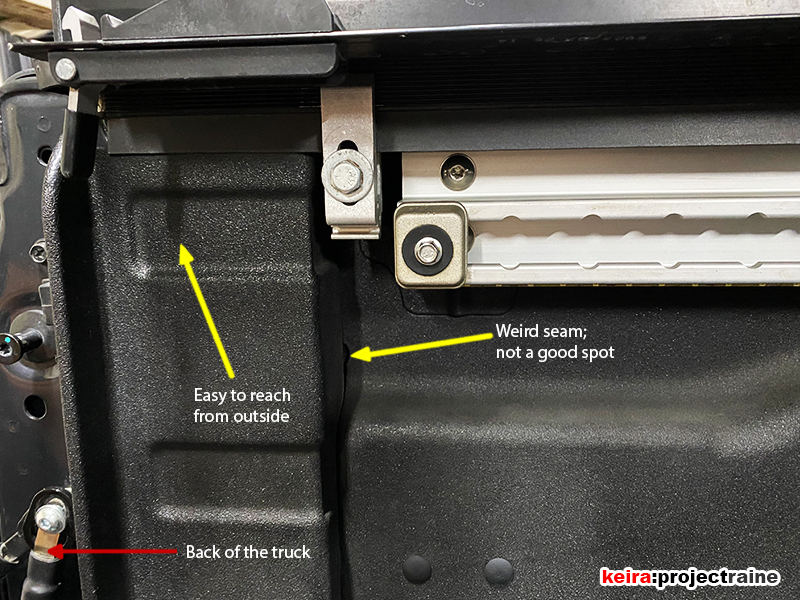
I programmed the TR7 to work as a triggered timer, with the trigger being a single push of the buttons. With the TR7 programmed and ready, next I had to decide where to put the switches. I surveyed the bed area near the tailgate and I decided on a spot high up on the bed sidewalls so that I could easily reach for them even if the tailgate was up (and the Tonneau cover was open, of course). The spot was also inset from the surrounding area, so it would actually be perfect to protect a flush-mounted switch.
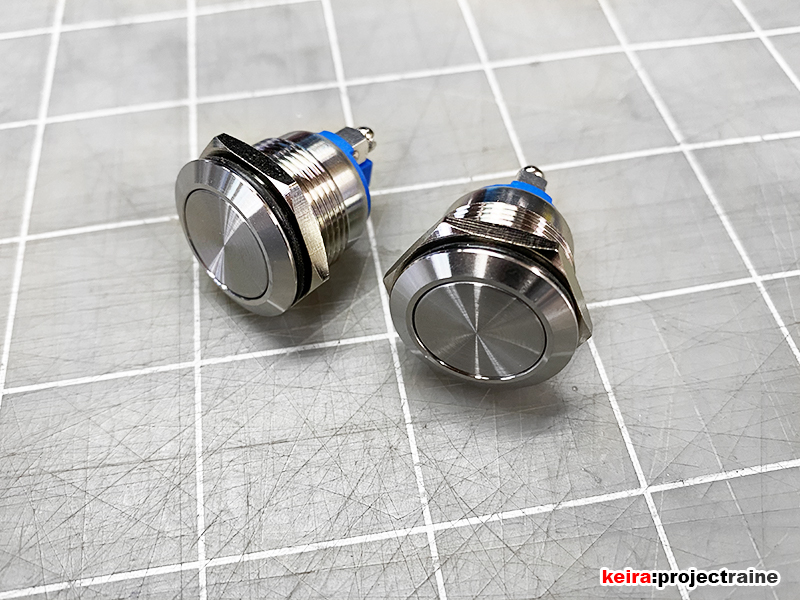
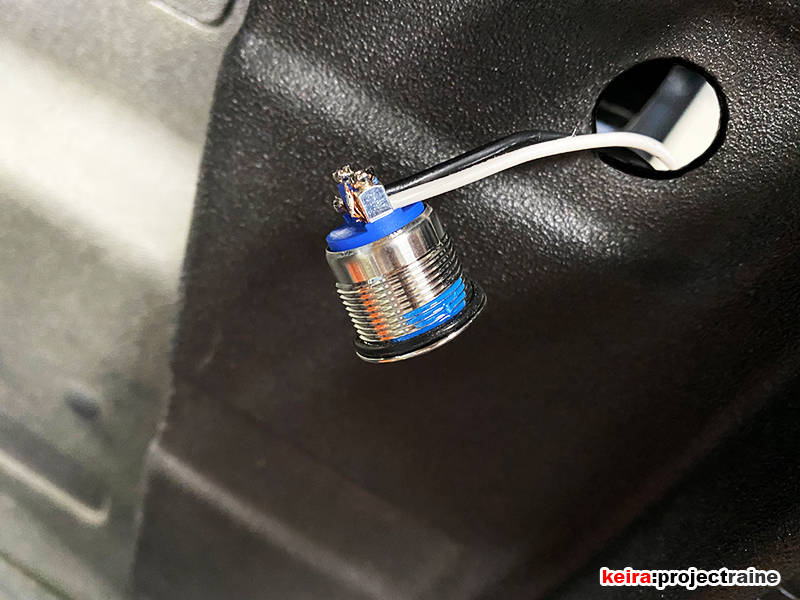
So now – time to find the right switches. After a couple days of searching McMaster-Carr, Parts Express, eBay, and of course Amazon, I decided to use a pair of 19mm stainless steel push button switches. The switches feature a waterproof design, a flush button face, and are momentary (push and hold to turn on, let go and it turns off):
Moving along nicely, I went ahead and made a new wiring harness. The plan was to run the harness underneath the truck behind the rear bumper (where all the other OEM wiring harnesses are). The farthest ends of the harness would have to reach to each side of the bed, behind the tail lamps where I was planning on mounting the switches. I would position the TR7 somewhere near the center for quick access in case I need to get at it, and finally the harness would also need two plugged connections: one connection back to the cargo lamp output wires (that connects to the Utili-Track LEDs) and one connection for the TR7’s power and ground.
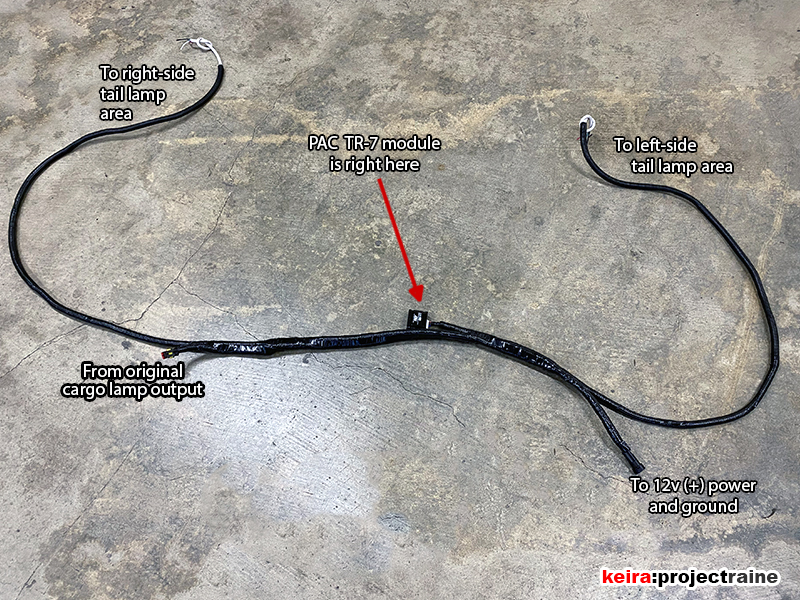
When wiring up the power and ground, it actually just made perfect sense to splice and solder them to the existing King Shocks reservoir LED circuit, as now I would have both the front reservoir LEDs and the rear bed LED switch module protected together by one of the fuses in my Blue Sea Systems fuse block.
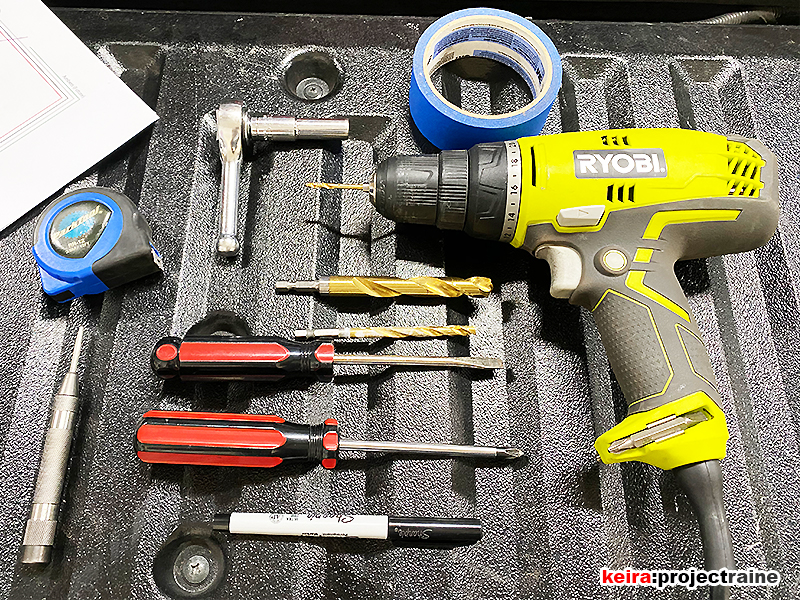
Time to the mechanical portion of the mod – installing the push button switches. I gathered most of what I needed for the install:
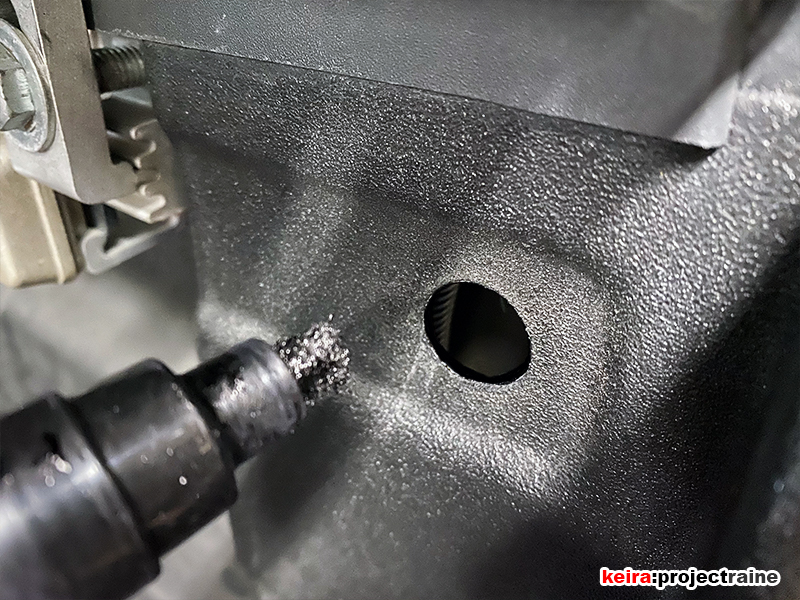
First step was to carefully stick some 3M blue masking tape to the inside of the truck bed wall, forming it to the contours of that area where I wanted to mount the push button switch. I measured dead center from top to bottom and about 0.75″ inwards from the vertical edge, marked it with a Sharpie, center punched it, and started drilling. There was no turning back now:
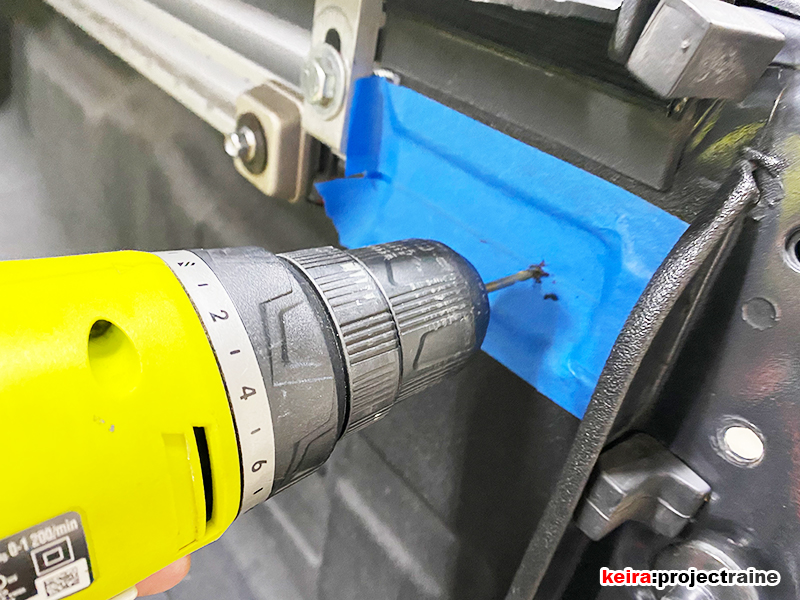
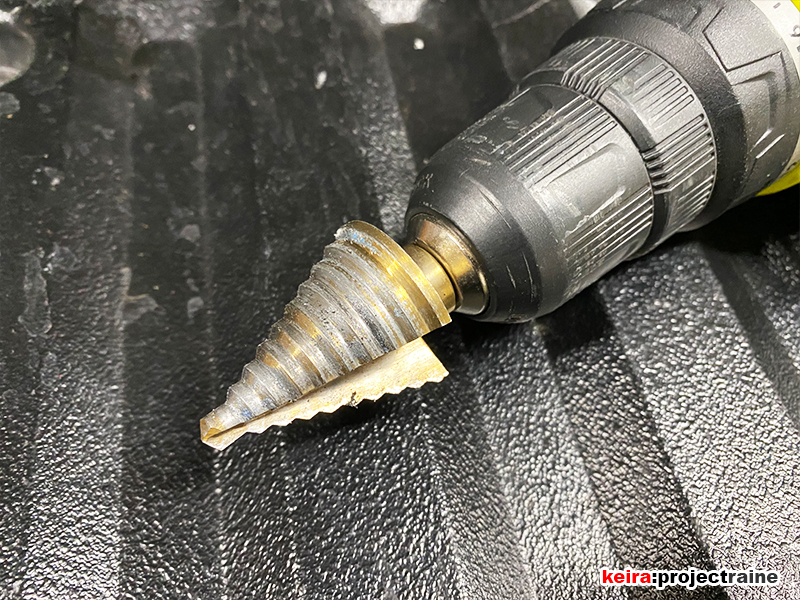
Went from a 1/8″ drill bit, to a 1/4″, then to a 1/2″, and finished it off with a step bit to get the required 19mm hole (which is just about 3/4″):
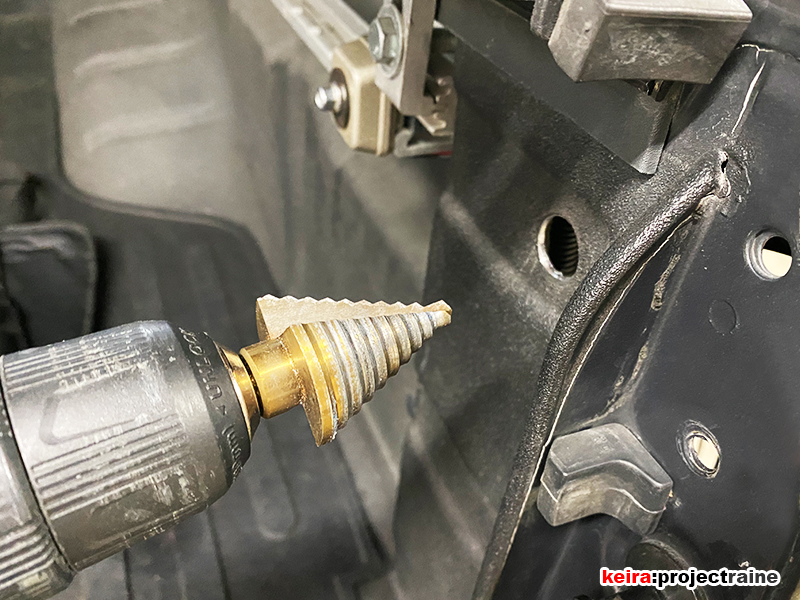
Added some paint to the edge of the freshly drilled hole to protect it from rust:
Then wired up the push button switch:
…and mounted the switch in the holes (view from the area behind the tail lamps):
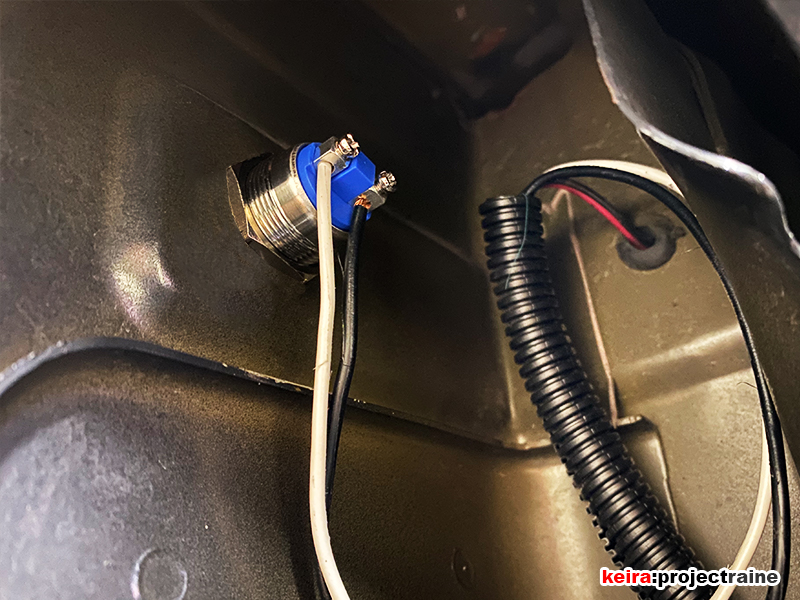
And then? I did the exact same thing to the left side as well.
So here’s the final product – flush mounted switches that I can tap at any time to turn the Utili-Track bed LED strips on, without having to have the vehicle on, nor the key in the ignition. It’s easy to find the switches even at night, and since I put one on each side of the bed I can turn the LEDs on easily and quickly from either side of the truck. What makes it even better is that I programmed the TR7 to keep the LEDs on for exactly 60 seconds before they shut off automatically. I originally set it to 2 minutes, but during after-install testing 2 minutes seemed like forever! So I unplugged the TR7, reprogrammed it for 60 seconds instead, and now it stays on just long enough to be able to see whatever it is I need to do (the TR7 can be programmed as a timer between 1 second to 5 minutes).
Closing note: I just realized I never took pictures of the left side push button, but it’s basically in the exact same spot as the right side one.
