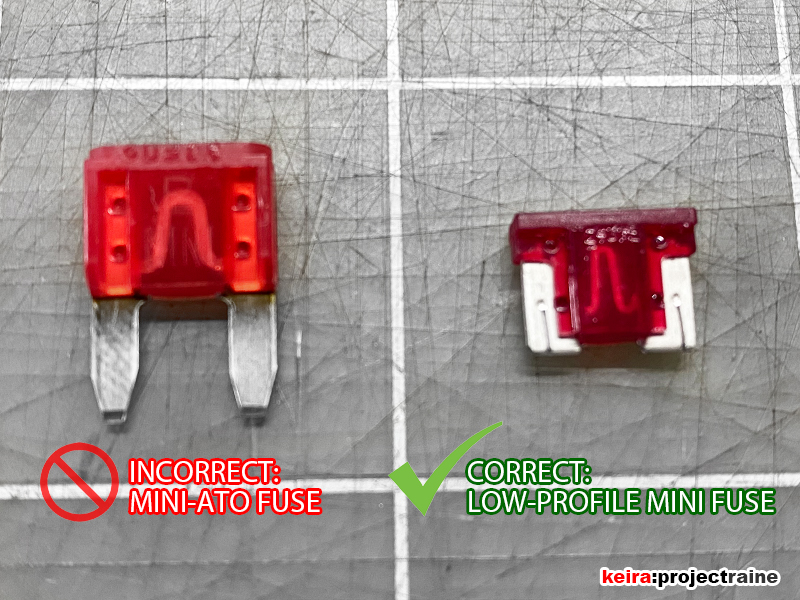
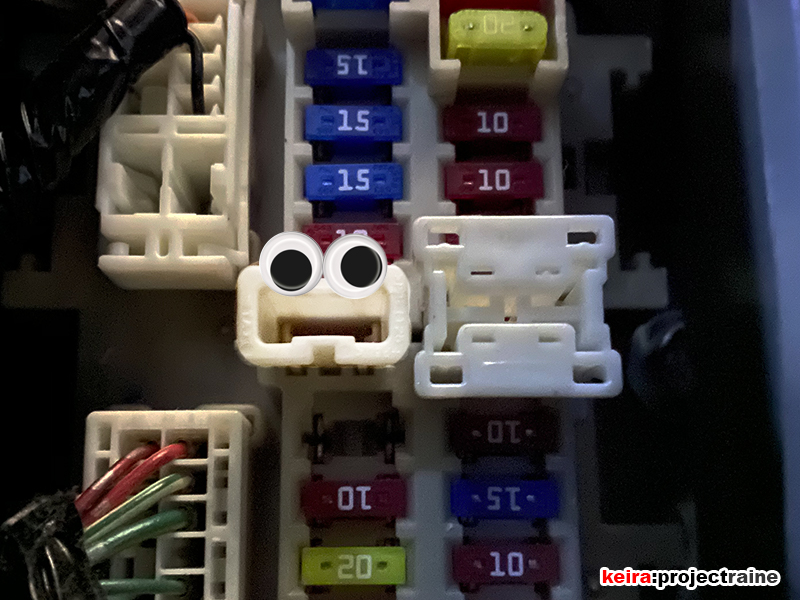
Quick & Easy Interior Fuse Box Guide
Here’s a quick guide to the interior fuse box for most 2005-2019 Nissan Frontiers (D40). Note that depending on the model year and trim level, some of these might be slightly different, but to be sure you can refer to the fuse box cover in your specific vehicle for any differences.
Where Is It?
Access is easy – just open your lower glove box, and on the right side you’ll see a small rectangular panel. There’s a hole at the lower part of this panel, just put your finger into the hole and pull the panel out.
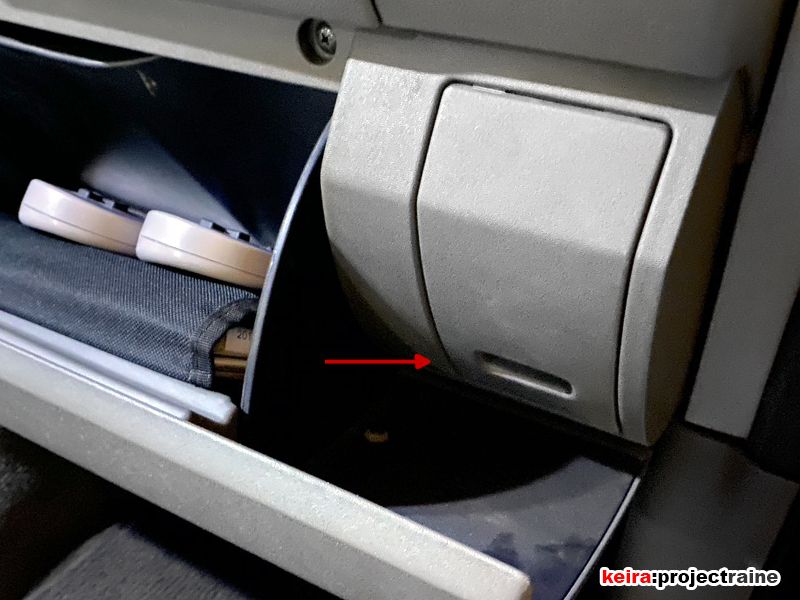
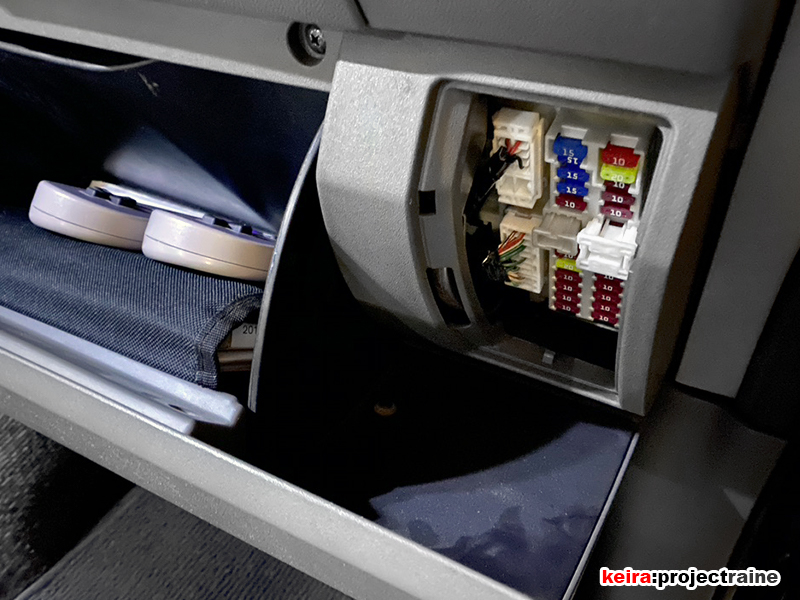
With the interior fuse box open, use the photos and text below as your guide:
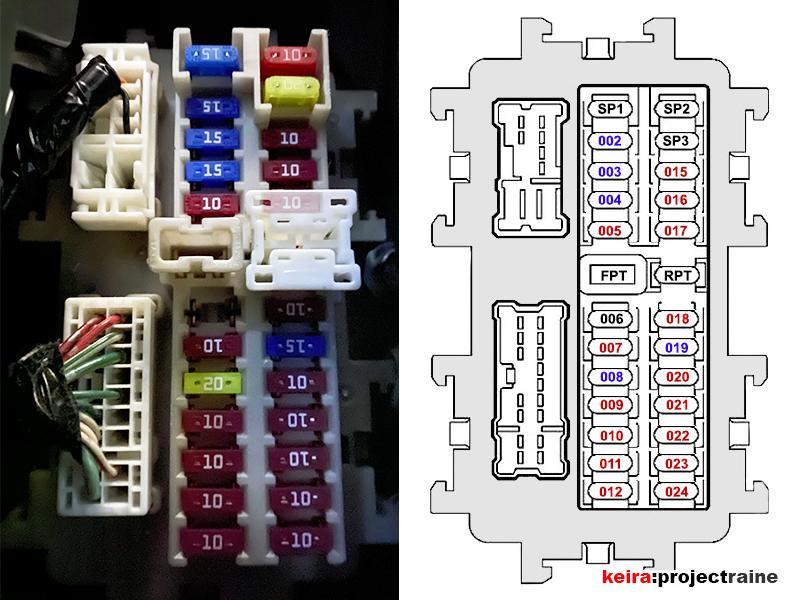
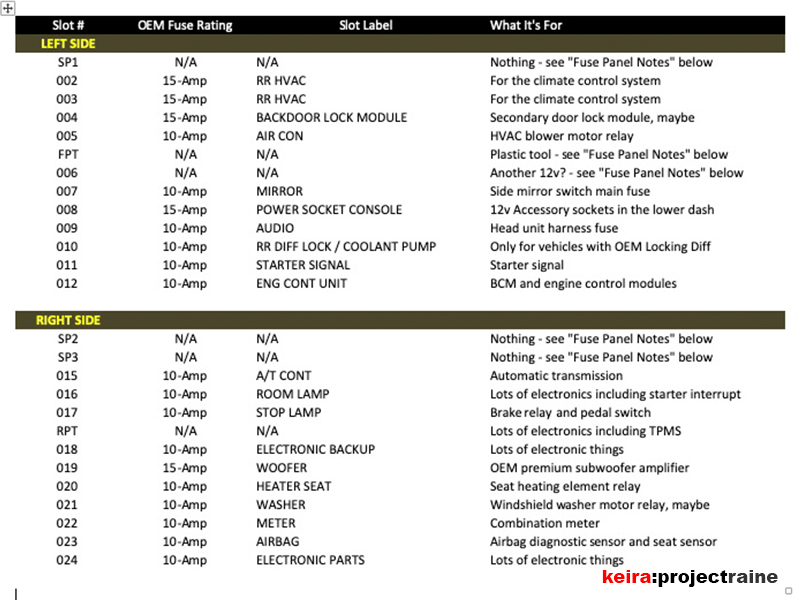
Fuse Panel Notes
Here’s a few notes regarding certain specific fuse slots / features:
#006
Labelled “POWER SOCKET UPPER” in some vehicles, my truck does not have a fuse here, but all of my power sockets work.
#008
My photo shows a 20-Amp fuse, but it should be a blue 15-Amp fuse.
#019
If you don’t have an OEM subwoofer, this can be used for a power source for an interior accessory (not to exceed 15-amps)
SP1 – SP3
These are empty slots to store spare fuses.
FPT
“Fuse Pulling Tool” use this to remove fuses easily. The tip snaps onto the fuse, then when you pull outward the fuse will unplug itself, travel through the tool, and magically fall into your hand.
RPT
“Random Plastic Thingy” DO NOT PULL THIS FUSE or you’ll trigger an error code and the CEL (Check Engine Lamp) will light up. I totally forgot the exact error code (it had something to do with a sensor) but luckily my Ultragauge has a feature to clear error codes and reset the CEL.
PAY ATTENTION: About the Fuse Size
If you pull one of these fuses out from this location, you’ll notice that they are short and stubby. These are not Mini-ATO fuses, they are known as “Low-Profile Mini Fuses” or LP-MINI fuses. Be aware of this when you look for some spares, as these are not as common as regular Mini-ATO fuses that look like they’re the same from the outside, see below image:
