Light the Way.
Last weekend the nice UPS lady dropped of my brand new Rigid Industries D-Series LED Driving Lamps:
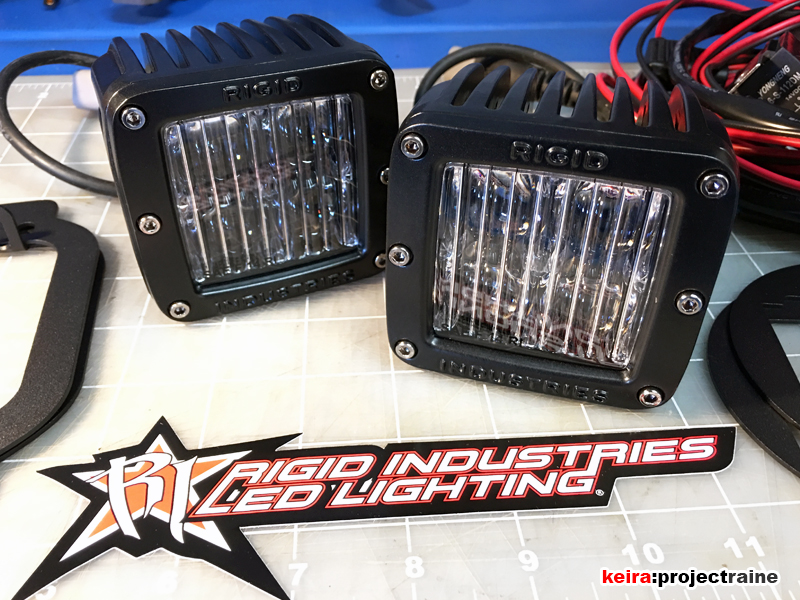
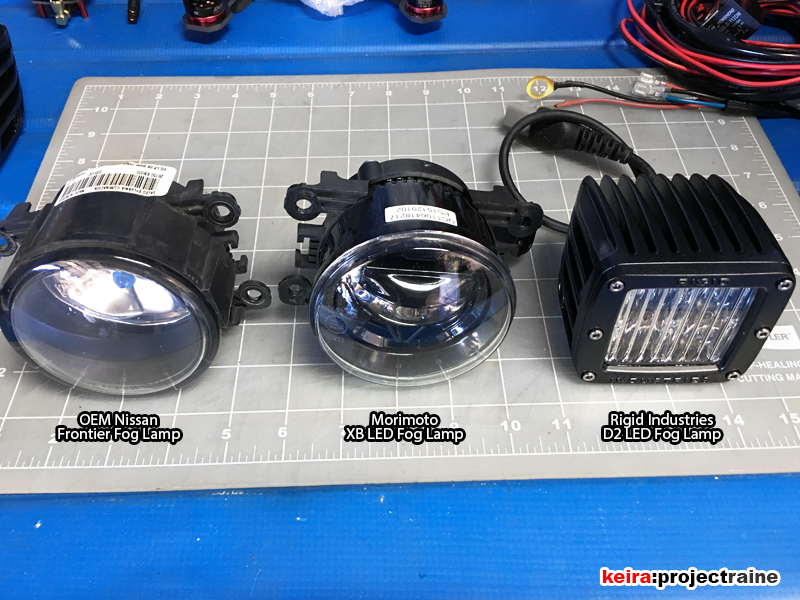
After researching all the different kinds of lamps they have (and they have a lot!) I selected the DOT/SAE-compliant versions, which meet federal requirements to be used on the road. In other words – they’re street legal, which is what I was looking for since I was going to install them into the factory fog lamp locations and use them for daily driving. These lights have a wide angle and a sharp, flat cutoff at the top. They’re also pretty hefty – the aluminum housings have some weight to them, they feel really solid. One Rigid D-Series is more than twice the weight of the OEM fog lamp and the Morimoto fog lamp combined – makes sense seeing as the OEM and Morimoto are almost entirely made of plastic. Here’s a pic of the OEM Nissan fog lamp next to the Morimoto XB-Series Type-S LED lamp, next to the new Rigid D-Series:
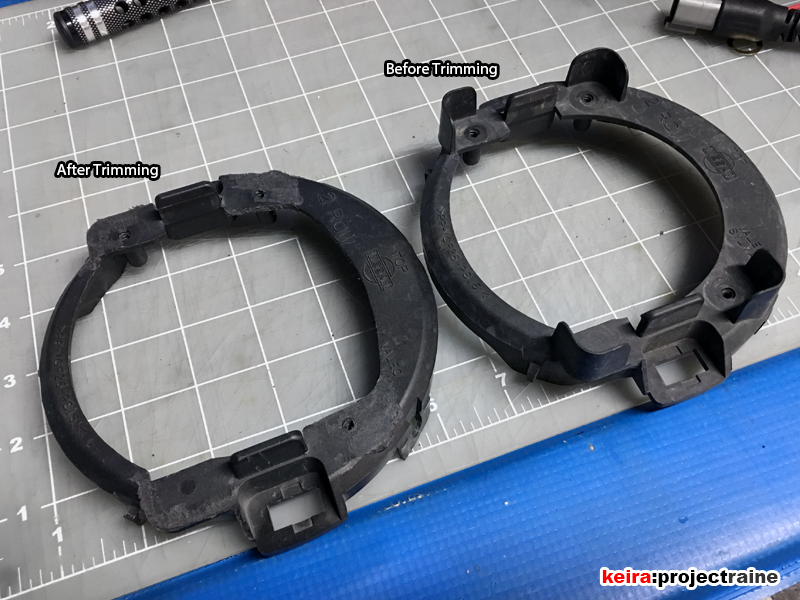
And now let’s get to the install. The first thing I did was remove the Morimoto XB-Series fog lamps from the truck. Next, instead of using the included Rigid wire harness, I made my own custom length harness using 14-ga wire and a relay socket (no pics, it’s boring to look at) and made the necessary connections to be able to run the D-Series lamps off of my factory fog lamp switch. 12v main power and ground were hooked up to my BlueSea fuse block. With the wiring out of the way, it was time to install the actual LED driving lamps. The kit included a Nissan Frontier-specific mounting bracket and hardware, but it’s not 100% bolt-on; some mild modifications needed to be done to the OEM fog lamp brackets. No problem – I used my Dremel and trimmed off the 4 guide tabs on the bracket. Doing this doesn’t affect the OEM fog lamp mounting, so if I ever want to go back to stock, I still can:
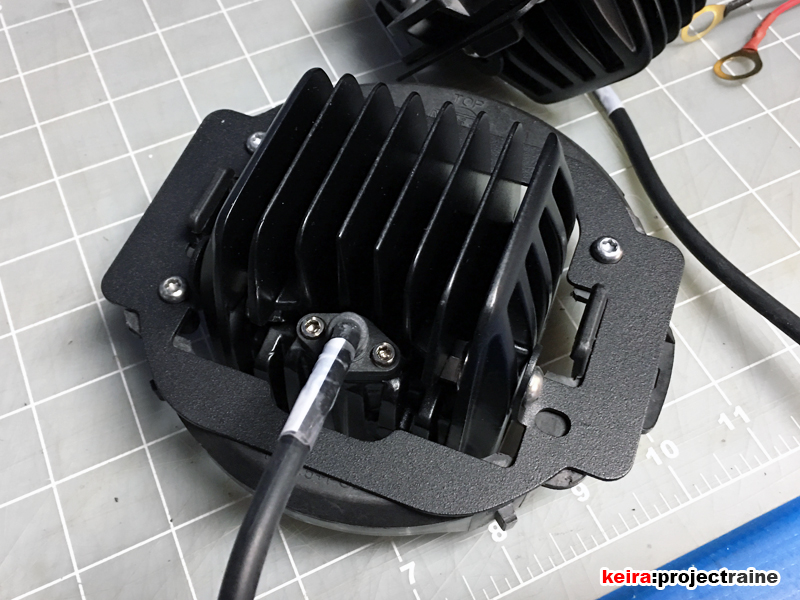
Next was the actual D-Series lamp and adaptor plate, which attached to the OEM fog lamp bracket using the OEM Torx screws. The plate had a nice textured finish to it:
Finally, the front trim plate. The installation of the front trim plate was simple but there was a noticeable gap between the trim plate and where the mounting screws go. If I tightened the screws too much, it would bend the trim plate. I first used a combination of the included metal washer and five 0.5mm plastic shims to get the spacing just right to where I can tighten down the mounting screws properly. Then I realized I was putting thin plastic shims up against an aluminum heatsink housing (not good!) so I took it all apart again. After a little searching in the garage, I found some 2.5mm aluminum spacers to resolve the issue.
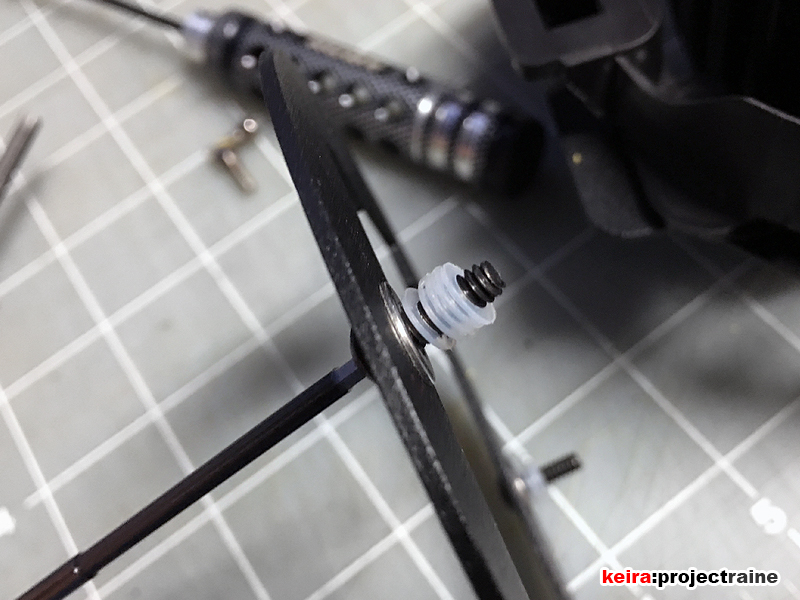
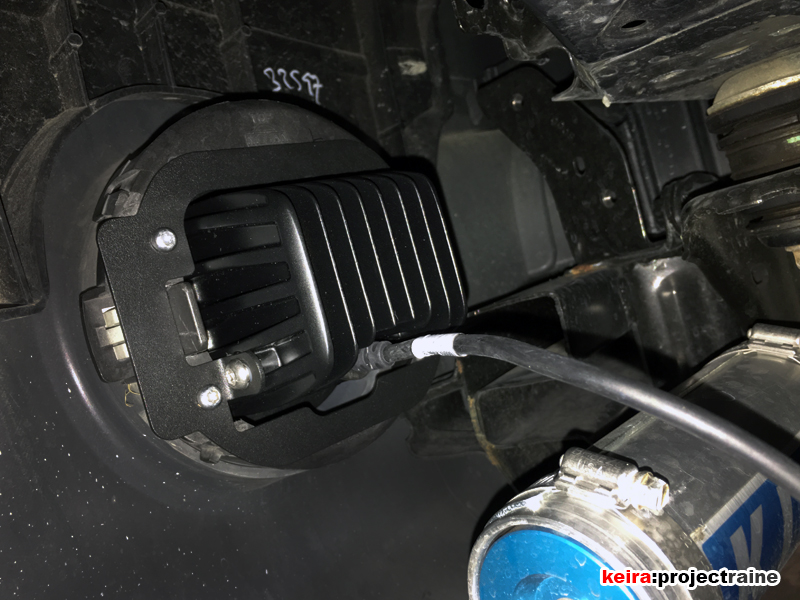
With the whole thing put together, time to bolt them inside the bumper:
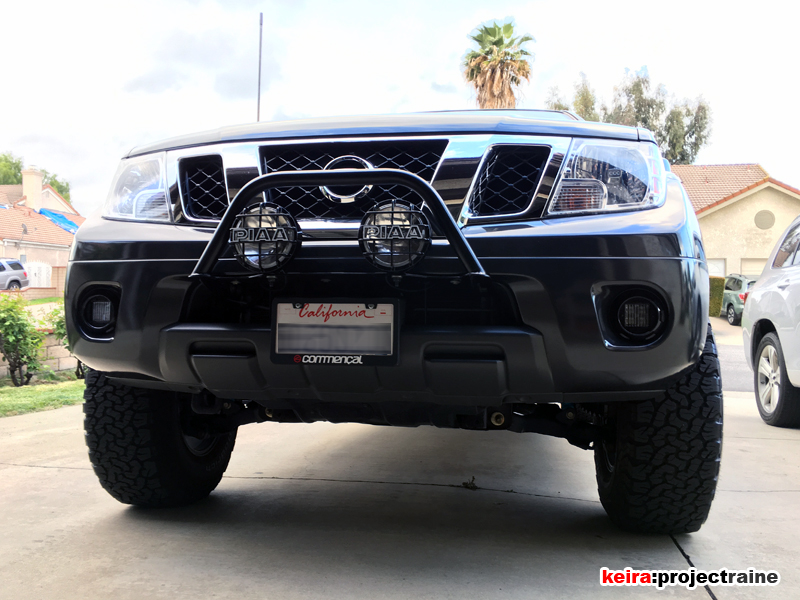
From the outside, they’re not that noticeable or flashy when the truck is just sitting there. The only telltale sign that these are aftermarket is the square lens shape inside a round bumper hole:
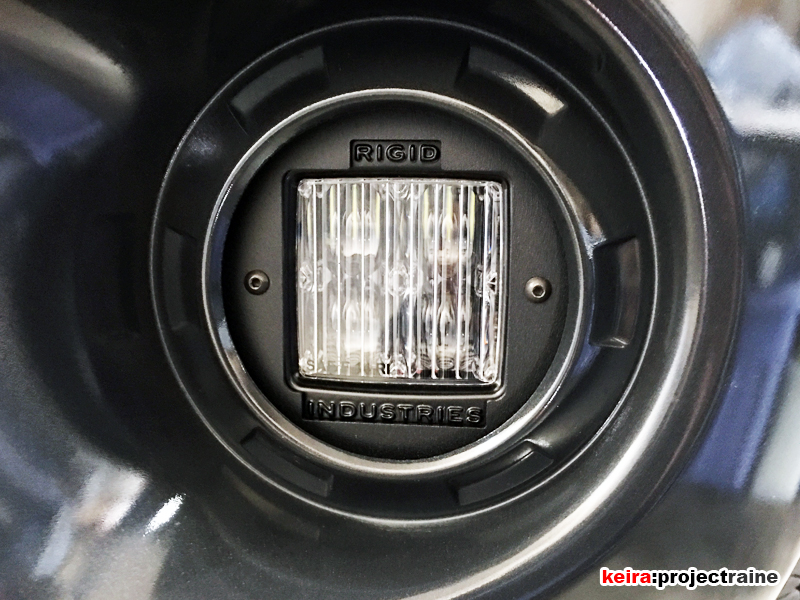
Of course, if you actually look closely, you’ll see the Rigid brand name stamped into the aluminum frame:
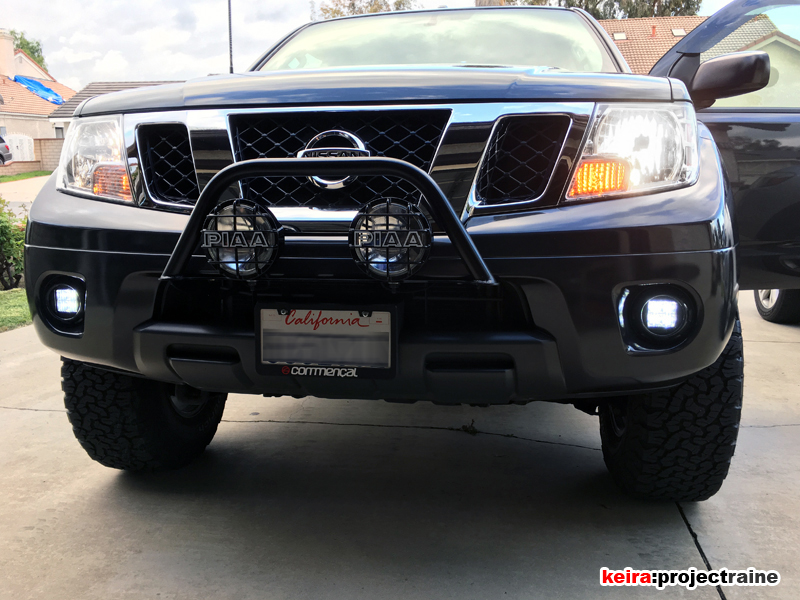
After installing the D-Series LED driving lamps, I spent the next Saturday reconfiguring the wiring of my high beams, D-Series LED lamps, the Xterra Switch, and the PIAA 520 Lamps. Afterward, my front lights now work as follows:
- PIAA 520’s activated by headlamp high beams only (no more dedicated switched control)
- Rigid D2 LED Lamps normally activated by OEM fog switch on the light stalk; AND
- Rigid D2 LED Lamps optionally activated independently using the Xterra Switch
- Headlamps, Rigid D2 LED Lamps, and PIAA 520 Lamps can all be on at the same time, if needed
- Xterra Switch now connected to a 12v switched power source
- Rigid D2 LED Lamps can be turned on at any time as long as the key is in ACC or ON
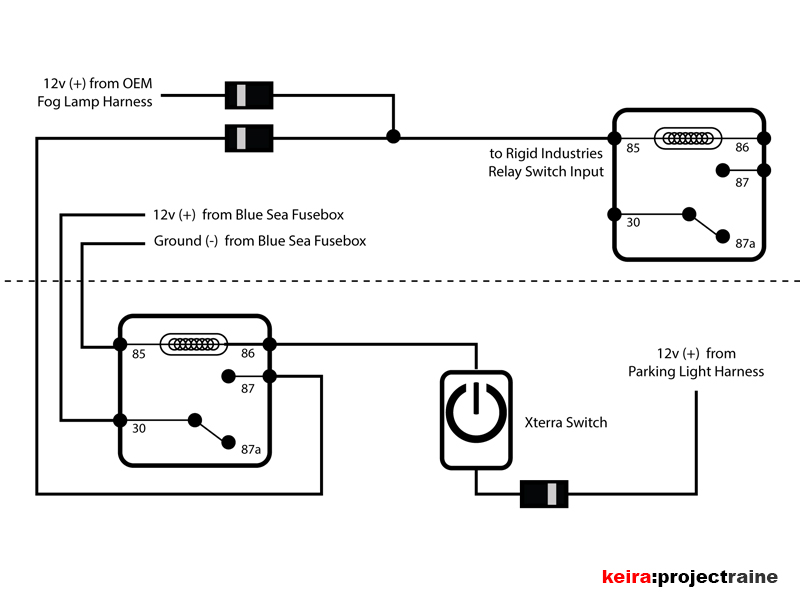
The last two I did as a safety – as long as the light stalk is on “OFF” and the key is out of the ignition, I don’t have to worry about a dead battery if I accidentally leave the D-Series LEDs on. Finally, here’s a diagram of how I wired the Rigid’s to two switches:
Here are some photos showing the D-Series LED driving lamps’ output:
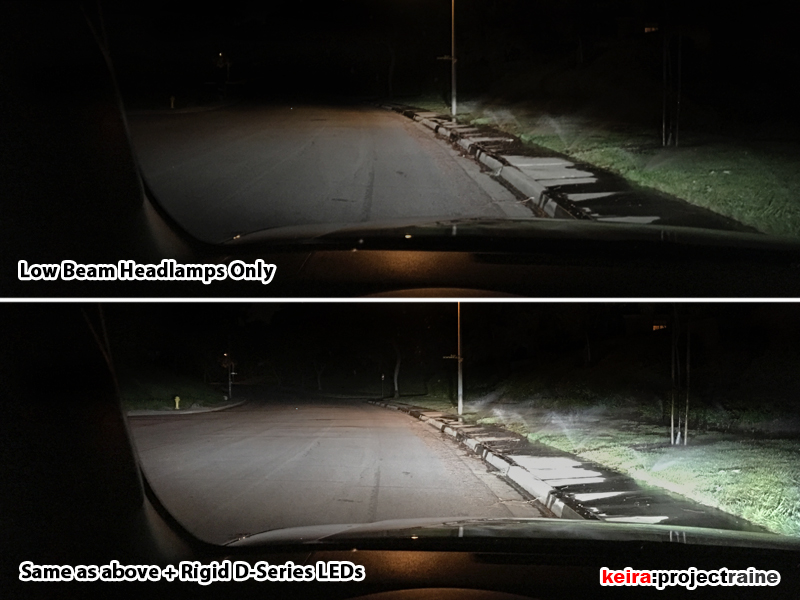
They might still be aimed a tad too high (are they?) but this is how I currently have my D-Series LED lamps aimed. The photos show the difference in visibility with the D-Series lamps on; actually the difference is more pronounced in person compared to what my iPhone camera sees (you know how cameras try to adjust exposure and brighthess on the fly). At the sides, notice the fire hydrant on the left and the hill at the edge of the grass on the right are easily visible. More importantly, out front I can see that there’s a curb coming up that can’t be seen yet with just headlamps.