Splash Armor: Rally Armor Mud Flaps
After a buddy came back from their first off-road trip, their OEM molded splash guards were crushed instantly when driven over some obstacles. OEM molded splash guards are not flexible (same with the Nissan OEM Frontier splash guards) and the rear guard actually bent their fender slightly on impact (not too bad though, we fixed it DIY style). Recently they asked me to help install a set of aftermarket mud flaps because they liked how mine looked – and this reminded me: I installed my aftermarket mud flaps tway back in the summer of 2022, and I never wrote a post about them! So okay, it’s been almost 2 years now since I’ve had these equipped, so I’ll write about them now.
Going back to my neighbor for a bit – they went with a no-name polyurethane universal mud flap set for $25, and they looked very similar to the Rally Armor brand of flaps. The set even came with a box of assorted mounting hardware and a stubby tip Phillips screwdriver – not bad for the price, including 2-day Amazon shipping. For my truck though, I went with the genuine Rally Armor brand; I chose their universal Rally Armor Plus size in black with black lettering. The Rally Armor set cost me about $55 on Amazon, and when they arrived at my doorstep 2 days later, they included… nothing else:
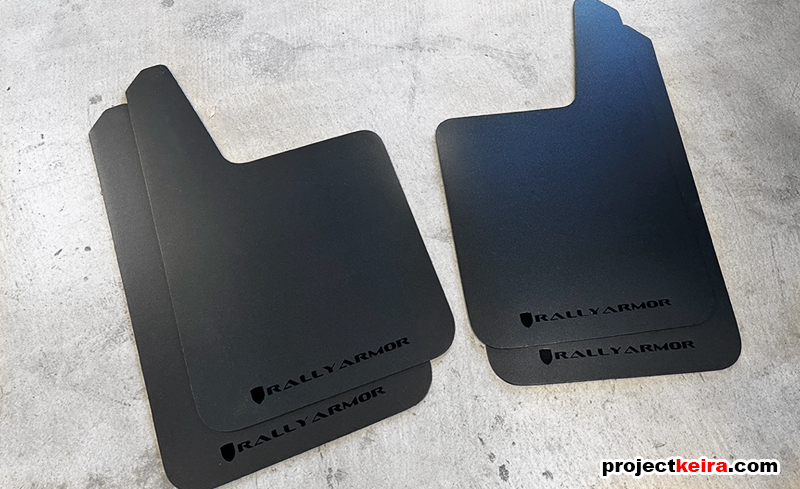
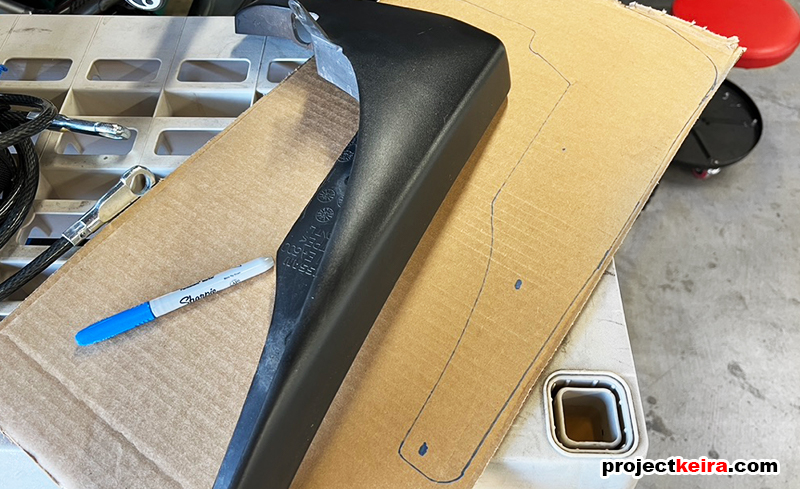
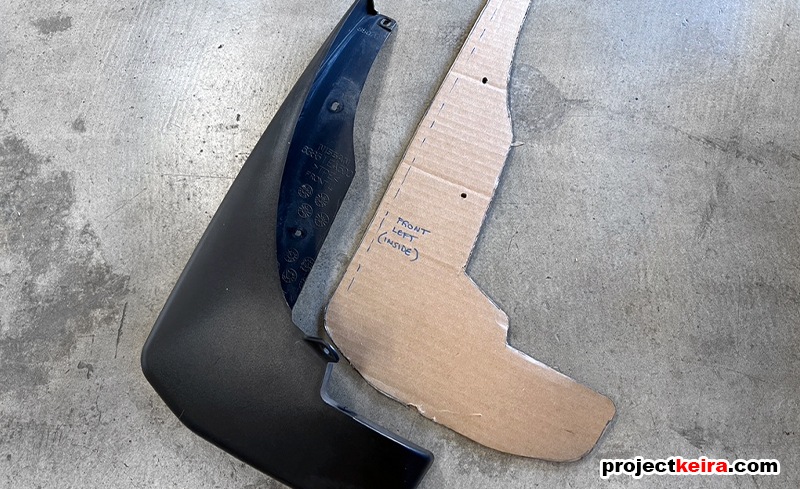
That’s all there was in the bag (not even a box) – no hardware, no documentation, nothing. Okay, whatever – let’s get to the install. I planned to shape and mount the new flaps in the same relative position as OEM, hoping the added size of the Rally Armor version would increase splash coverage. The first thing I did was remove my OEM Nissan splash guards so I could use them as my pattern to trace onto some scrap cardboard. Here are some photos showing the tracing on the cardboard, then after trimming – including markings for the OEM mounting screws:
Now for a test fit. I poked holes for the OEM mounting screws, mounted the cardboard templates onto my front fenders, and traced a second reference line indicating where the outside (visible) edge of the fender meets the flap:
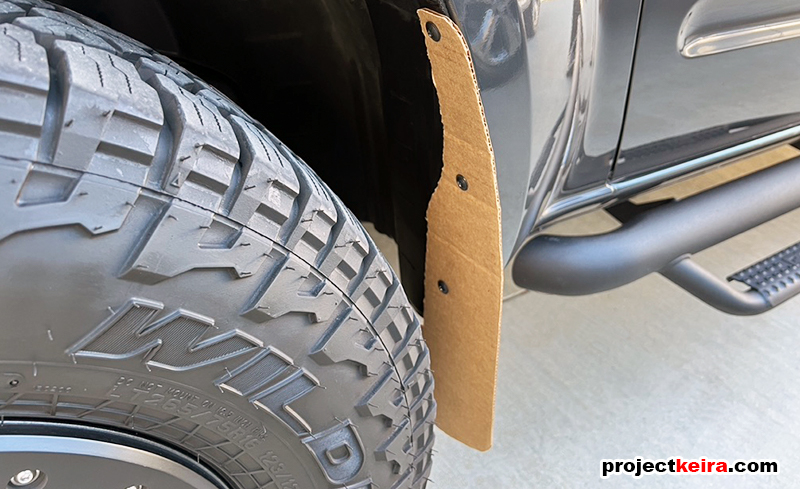
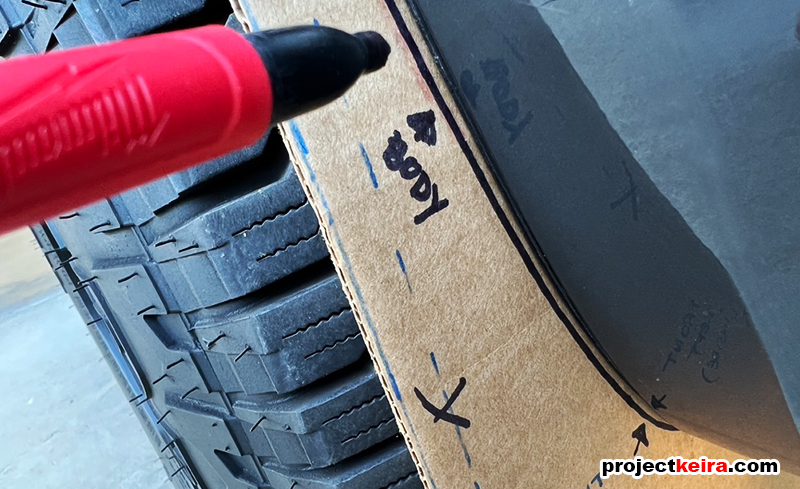
This reference line would let me see how the new Rally Armor fender would be positioned relative to the truck body. Next, after removing the cardboard template, I laid it on top of one of the Rally Armor flaps to see how much more coverage I’d get, and… surprisingly it wasn’t even that much:
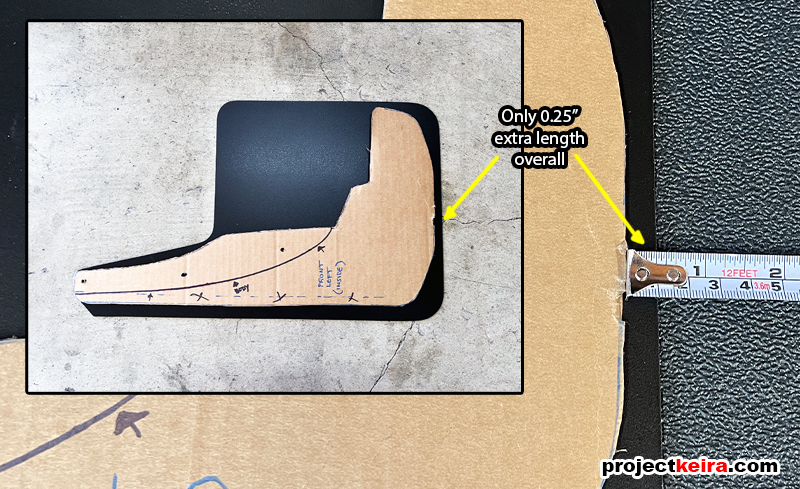
As shown above, if I were to position the flaps relative to the OEM splash guards, I would only achieve ¼” of added coverage at the lower edge and another ¼” of added coverage to the side. I was expecting a bit more at the bottom but I didn’t realize how tall the OEM guards were already. Well, at least it was still more than the OEM splash guard, plus it wouldn’t be rigid like the OREM. I only traced the inner contour, leaving the extra overhang on the outer and lower edges. Trimming the Rally Armor flaps was easily done using a large set of scissors and a hole reamer:
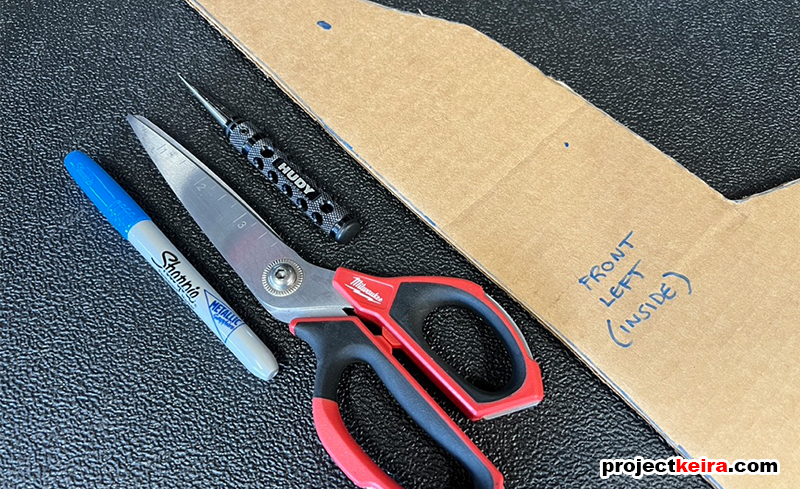
When I test fit the front Rally Armor flap, I found that my Falken tires would barely rub during turning; this was expected though since I had previously modified my OEM splash guards to clear my low offset Level-8 wheels. To make the installation easier at this stage, I went ahead and completely removed the inner splash guards from the truck. After initially attaching the new Rally Armor flaps at the three OEM screws locations, next I needed to figure out how to install the inward portion of the front Rally Armor flaps to clear the tires. I did not want to trim the inner section of the flap, but at the same time I needed to figure out a way to allow for tire clearance.
My solution was to add a soft vertical bend to the front flap. This would move the inner portion of the flap away from the tire. To, keep the bend in place, I kept it really simple and just used an OEM-style plastic pop clip. The pop clip ended up being an easy but secure and very effective solution for holding the inner part of the Rally Armor flap away from the tire area:
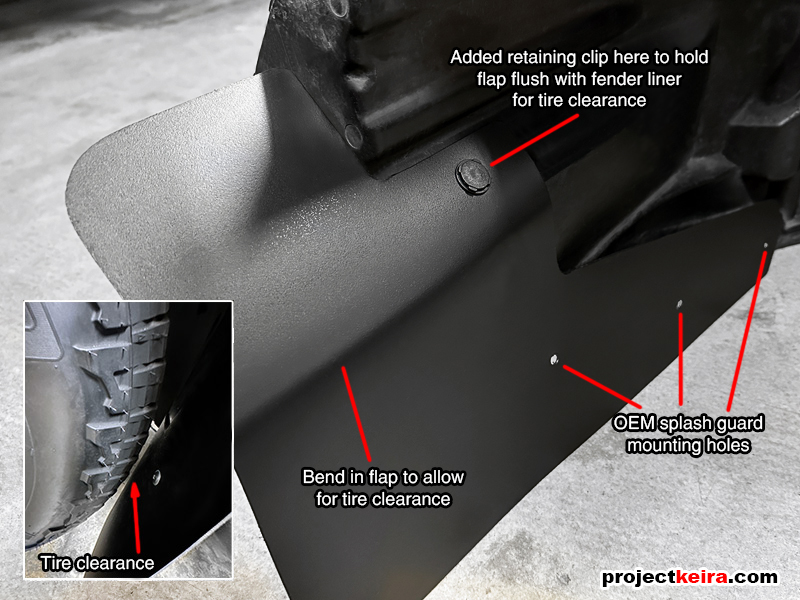
And here is how the new Rally Armor flap looks installed up front; you can see the tire clearance in the photo (and that I need to wash my truck again):
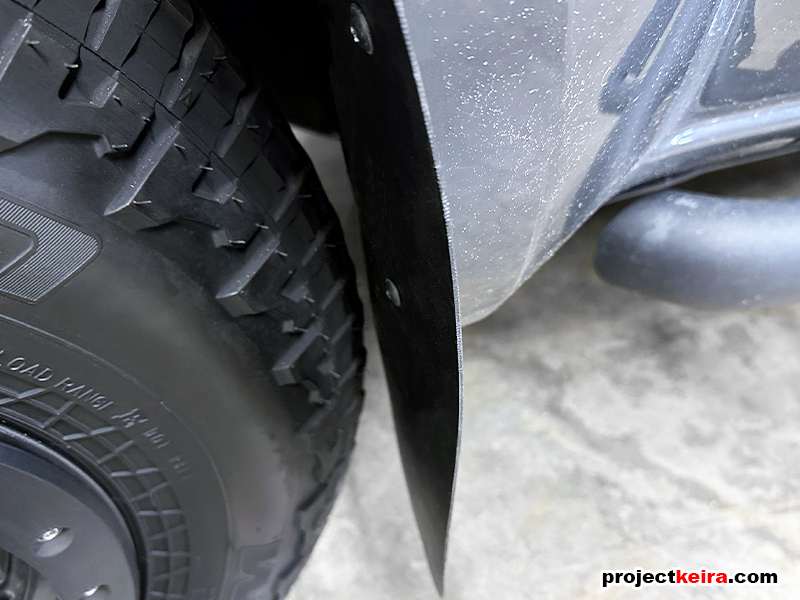
With the front flaps done, it was time to move to the rear. Since the rear tires do not rotate for steering, I knew I wouldn’t have to do anything for tire clearance. However, a different issue presented itself (more on this in a bit). As with the front flaps, I traced the OEM splash guards onto cardboard, but I only transferred the mounting screw holes to the new flaps:
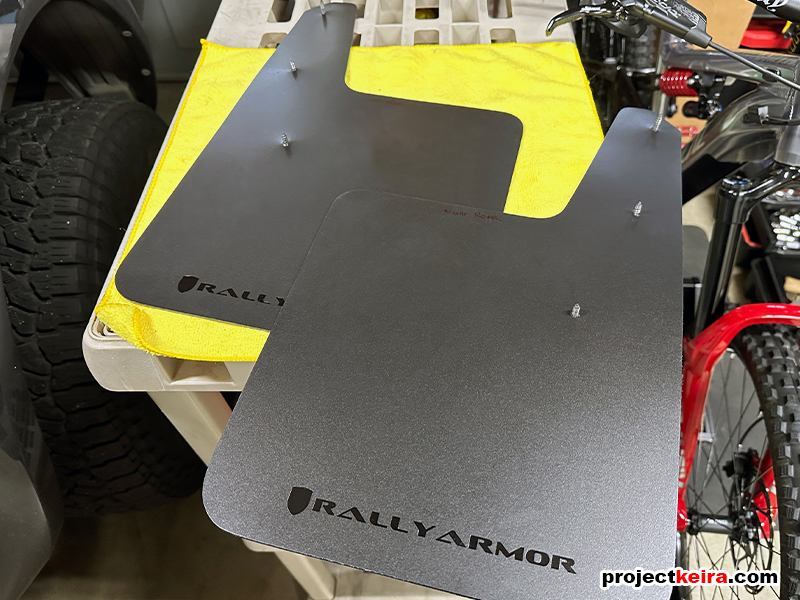
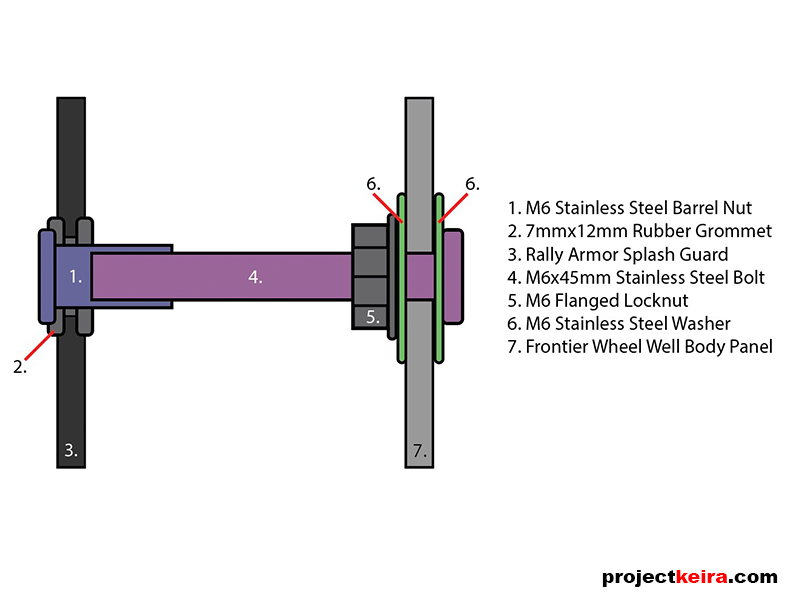
After test fitting the rear flaps on the truck, a small issue presented itself: the inner portion of the new flap needed some DIY to attach it to the bottom of the rear fender area. The problem was, there was a good 1.5-1.75″ gap in between where the Rally Armor flap sat and where a lower mounting hole was on the fender. After surveying the hardware I had at hand in the garage, I came up with a solution using an M6 barrel nut, M6 bolt, M6 locknut, a couple of M6 washers, and an appropriately sized rubber grommet. TO make it easier to understand, I made a quick diagram:
…and here’s what it actually looks like on the truck (pic is blurry, sorry):
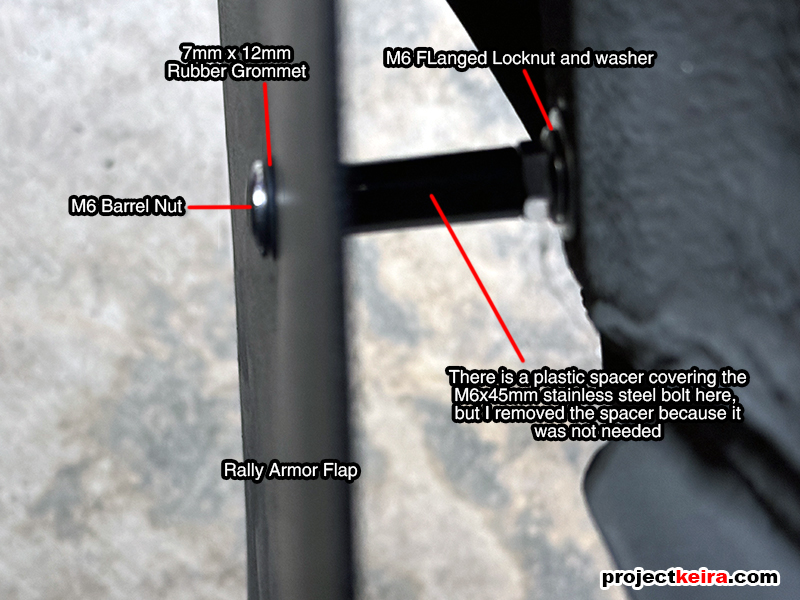
…and a different angle showing the barrel nut that is visible from the outside:
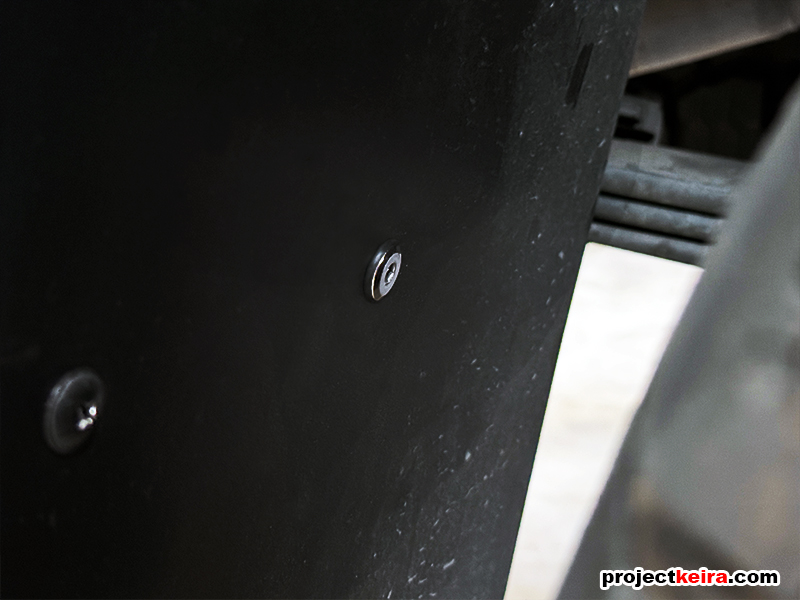
I used stainless steel hardware to avoid any rust issues, and the end result for the rear flaps looked like this:
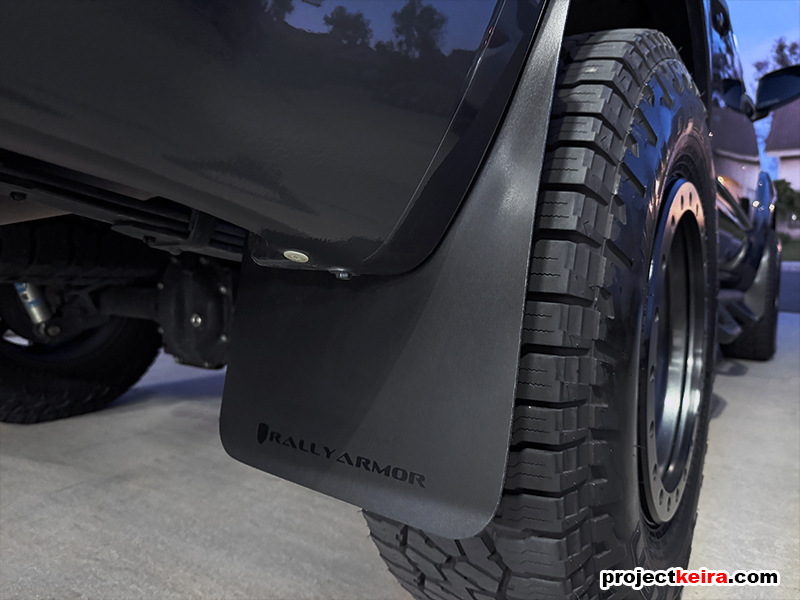
When all was said and done, the whole mod was fairly simple and required no special tools for installation. I will say this though – if I could rewind time a bit (back to 2022 LOL) I would probably just buy the generic versions like my neighbor did for half the price. When comparing the two, aside from the Rally Armor version having their logo both versions look and feel like the same material. Both have about the same flexibility, and both have about the same coverage. The edges of the generic versions are as clean as the Rally Armor set, yet the generic version for half the price included some extra hardware and tools. So if the branding is of no concern, go for the generic versions – I mean, most of the time I prefer the real deal, but we’re talking mud flaps here. If ever I need to replace these in the future I will probably just get the generic version instead.