How-To: Aim Your Headlamps (with LED Bulbs Installed)

Whether you’re looking to improve your visibility, replacing a dead bulb, or upgrading to LEDs it is imperative that you check and adjust your headlamp aim! This is especially true when it comes to upgrading from the OEM stock halogen filament bulb. The OEM headlamp assembly and reflector is designed specifically for use with OEM stock halogen filament bulbs in terms of fitment and brightness. When you change to something that outputs more light with a totally different light source compared to regular halogen filament bulbs you will just add brightness – but you won’t gain full advantage of the extra output if your headlamps aren’t aimed properly.
So if you kept your OEM halogen headlamps, but upgraded to LED light bulbs (Katana, Diode Dynamics, etc.) DON’T BE LAZY – AIM YOUR HEADLAMPS CORRECTLY. I’ve seen too many people put LEDs or even brighter CrystalVisions or Silverstars and not do the aiming, then complain that the light isn’t good. Or worse, they think that having their headlights blind everyone in oncoming traffic and illuminating every traffic sign like it is glowing from being exposed to nuclear fallout means they have “better light performance”.
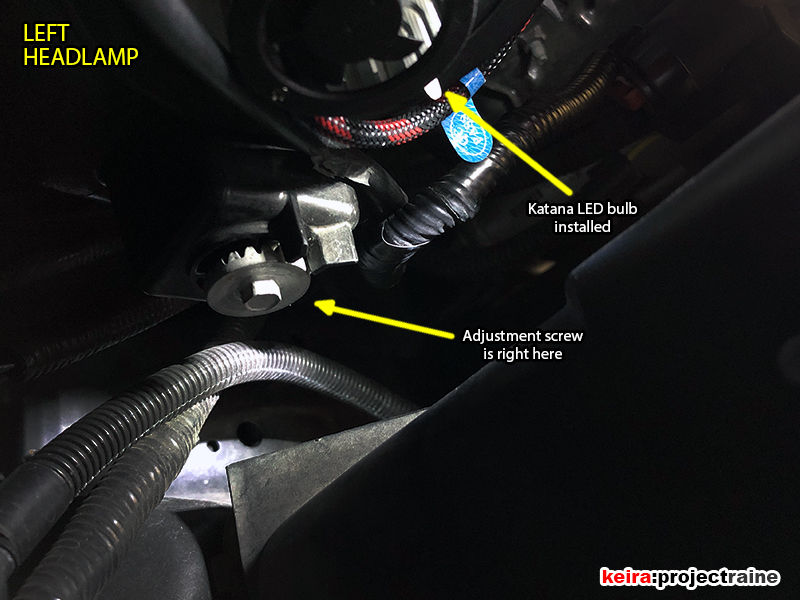
Well guess what? This also applies to LED headlamp bulb upgrades (like when I installed the Katana LED bulbs). With any change from OEM, even if the bulb fits into the housing perfectly, the light output and direction might not be where it’s supposed to be. So figure since you’re adding an upgrade, it only makes sense to “calibrate” it correctly, right?
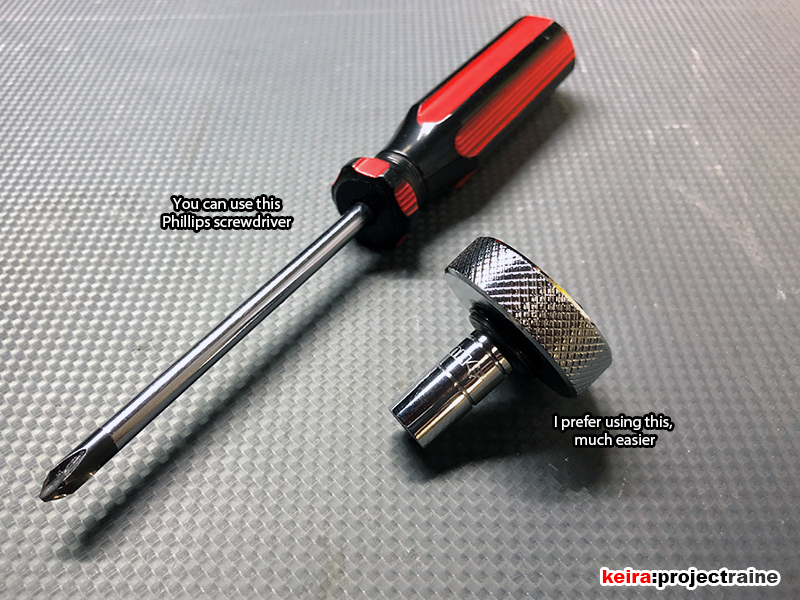
Luckily for us 2005+ Nissan Frontier owners, making adjustments is fairly easy. The OEM headlamp housing uses a single adjustment screw for up/down angle (there’s no left/right adjustment). You can turn the adjustment screw by using either a Phillips screwdriver or an 8mm socket. For this job I used an 8mm 1/4″ drive socket combined with a 1/4″ drive thumb wheel ratchet; this setup won’t slip like a regular screwdriver, it’s very compact, and I could easily gauge how far I’m adjusting by listening to the ratchet clicks while keeping my eyes on the light movement.

To properly aim the headlamps, find a level area with a vertical surface that is relatively flat and perpendicular to the ground. It will have to be clear for about 50 feet directly behind it so that you can position your truck with a 25-foot distance from the vertical surface. Ideally you would do the aiming when it’s dark outside for best results (or inside a dark covered area).
For aiming my headlamps I used the inside door of a friend’s warehouse. The warehouse had a perfectly level floor, with enough room to park my truck inside at the correct distance. Also, the warehouse was completely pitch black with the ceiling lights off. This location ensured that I could go full “lights out” so that the only source of light was from the headlamps.
TOOLS YOU NEED
- 8mm socket or Phillips screwdriver to make adjustments.
- Tape measure.
- Masking tape.
- Pen or marker.
- *OPTIONAL have a friend (or some ballast) of equal weight to the driver ready to place on the driver’s seat when you begin.
- *OPTIONAL glass cleaner and a rag to headlamp lenses as clean as possible. Use soap and water if there’s grime or bugs and stuff.
VEHICLE SETUP
- Make sure your truck has as close to ½-tank of fuel as possible.
- Check all 4 tire pressures, and adjust equally (I set mine to 36-psi.)
- Park truck perpendicular to the flat wall or surface (I used a warehouse door), about 2 feet away from the door.
- Put your friend (or the ballast) on the driver’s seat.

AIMING PROCEDURE
Note that depending on who you talk to, you’ll get all kinds of ways to aim headlamps. This is my method, and it works.
- Using a tape measure, measure the height from the floor to the center point* of your headlamp housings.
*note: look for the small divot/dot in the center of the headlamp lens; all modern lenses have this. - On the facing wall in front of your headlamps, place two strips of masking tape vertically, each aligned to the center of each headlamp.
- Mark your headlamp center point height on the tape with your pen or marker.
- Place two horizontal strips of tape (one on the left and one on the right), also at center point height.
- Measure 2-inches below center point height.
- Place two additional horizontal strips of tape (one at the left and one at the right) at 2 inches below the center point height.
This -2 inch height is your aiming target for the hot spot of your headlamps! - Reverse the truck straight backward until the center point of the headlamps are exactly 25 feet away from the tape markers.
- Now just adjust each headlamp (low beams only), until the hot spot of the lights are centered on the -2 inch line.
That’s it – you’re done. Now go outside, drive, and see how much better your headlamps work.
