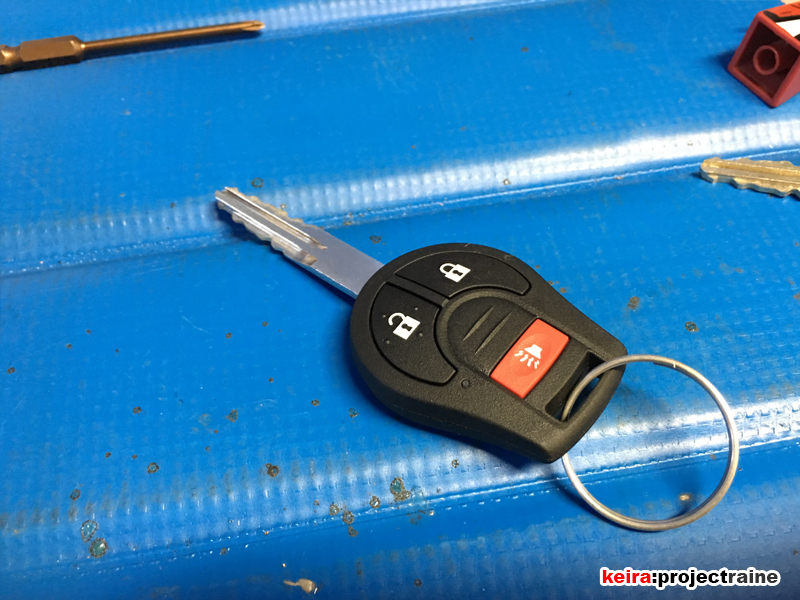
How-To: Program Your Rogue or Switchblade Key Remote Buttons

So you have yourself a new Nissan Rogue key or Switchblade Remote key. Sweet! After swapping transponders, all you have to do is program the remote buttons to your vehicle. Here’s how to do it in less than a minute:
PROGRAMMING ROGUE KEY/”SWITCHBLADE KEY” REMOTE BUTTONS
- Open the door, sit in the driver’s seat, and close all doors.
- Lock doors using the lock switch on the door. This is important!
- Insert the Master key completely and remove it completely at least 6 times (within 10 seconds).
- If you did step #3 right, when you remove the Master key the last time, the flashers should blink twice.
- Insert new Rogue key into ignition cylinder.
- Turn the Rogue key to the “ACC” position.
- Press any button on Rogue key – the flashers should blink twice, confirming programming.
- Remove key, unlock doors, exit the vehicle and test the keyless buttons.
- Done.
Further research explained that you can only program 4 remotes per vehicle. Most people get two master keys and one valet key, so that’s #1-3. Programming a Rogue key makes it #4 so for most people, you can stop here. However, if you have had a key replaced (or are unsure if there’s only 3 slots programmed) you can go a step further by repeating the above steps for each of your existing keys.
The reason for this is because if there’s already 4 keys programmed in, and you add the Rogue key programming, the vehicle will forget the oldest programmed remote. The last thing you want to have happen is need to use that “oldest” programmed remote and find out that it doesn’t work! By programming all of your existing keys and the Rogue key at the same time, you can ensure that all of your keys work.